
Introduction
Have you ever looked at your Windows 11 display and found that everything appears sideways or upside down? Whether it happened accidentally by pressing a keyboard shortcut or you’re intentionally setting up a vertical monitor for coding, reading, or graphic design, rotating your screen in Windows 11 is simple.
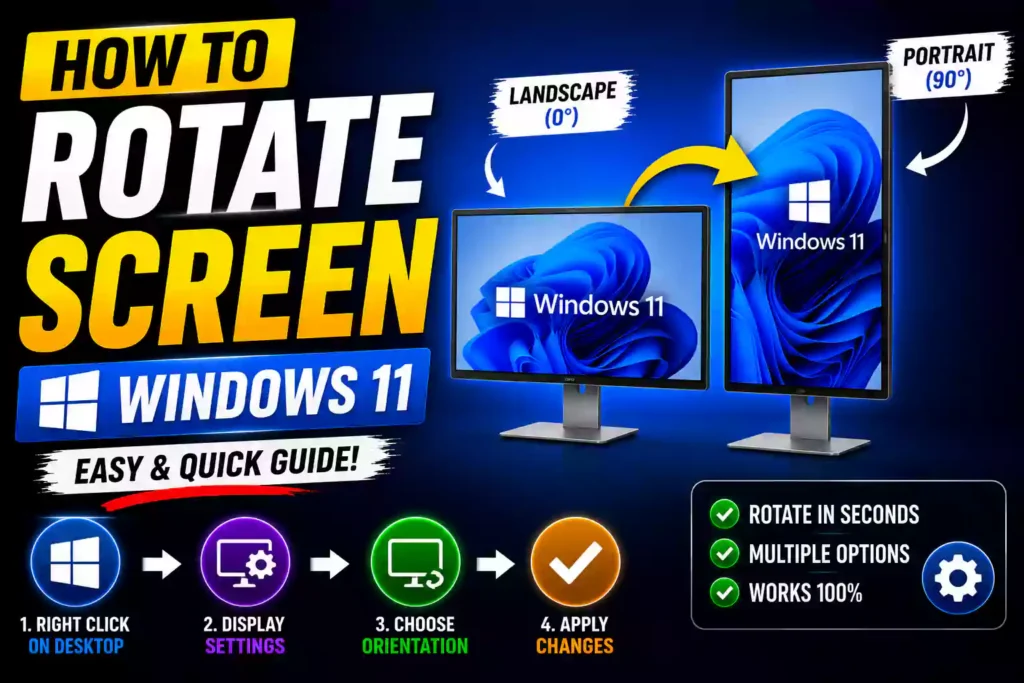
Windows 11 includes several ways to change your screen orientation. You can rotate the display using the built-in Display Settings, keyboard shortcuts (if supported), Intel Graphics Command Center, AMD Software, or NVIDIA Control Panel.
This guide explains every method in detail, helps you troubleshoot common problems, and shares professional tips to get the best experience.
Quick Answer
To rotate your screen in Windows 11:
- Right-click on the desktop.
- Select Display settings.
- Scroll to Display orientation.
- Choose one of these options:
- Landscape
- Portrait
- Landscape (flipped)
- Portrait (flipped)
- Click Keep changes.
This is the easiest and safest way to rotate your Windows 11 display.
Table of Contents
- What Does Screen Rotation Mean?
- Why Rotate Your Screen?
- Method 1: Rotate Screen Using Display Settings
- Method 2: Use Keyboard Shortcuts
- Method 3: Rotate Using Intel Graphics Command Center
- Method 4: Rotate Using NVIDIA Control Panel
- Method 5: Rotate Using AMD Software
- How to Rotate Multiple Monitors
- Common Errors and Fixes
- Best Practices
- Frequently Asked Questions
- Conclusion
What Does Screen Rotation Mean?
Screen rotation changes how Windows displays content on your monitor.
The available orientations include:
- Landscape (Default)
- Portrait
- Landscape (Flipped)
- Portrait (Flipped)
Landscape is ideal for everyday work, gaming, and entertainment, while portrait mode is popular among programmers, writers, stock traders, and professionals who read long documents.
Why Rotate Your Screen?
Rotating your monitor can improve productivity in many situations.
Some common reasons include:
- Reading long PDF files
- Programming
- Writing documents
- Social media management
- Viewing spreadsheets
- Dual-monitor setups
- Digital signage
- Touchscreen kiosks
Many IT professionals also rotate monitors while configuring workstations or testing display hardware.
Method 1: Rotate Screen Using Display Settings
This is Microsoft’s recommended method.
Step 1
Right-click anywhere on the desktop.
Choose Display settings.
Step 2
Scroll to Scale & layout.
Locate Display orientation.
Step 3
Click the drop-down menu.
Choose:
- Landscape
- Portrait
- Landscape (Flipped)
- Portrait (Flipped)
Step 4
Windows asks you to confirm the new orientation.
Click:
Keep changes
or
Revert
if the display doesn’t look right.
This method works on nearly every Windows 11 PC.
Method 2: Rotate Screen Using Keyboard Shortcuts
Some computers support rotation shortcuts.
Try:
- Ctrl + Alt + Up Arrow → Landscape
- Ctrl + Alt + Down Arrow → Upside Down
- Ctrl + Alt + Left Arrow → Rotate Left
- Ctrl + Alt + Right Arrow → Rotate Right
Important
Many newer computers disable these shortcuts by default.
If nothing happens, your graphics driver likely doesn’t support them.
Method 3: Rotate Screen Using Intel Graphics Command Center
Many laptops use Intel graphics.
Open:
Intel Graphics Command Center
Go to:
Display
Choose:
Rotation
Select:
- Landscape
- Portrait
- Landscape Flipped
- Portrait Flipped
Click Apply.
If Intel Graphics Command Center isn’t installed, download it from the Microsoft Store.
Method 4: Rotate Screen Using NVIDIA Control Panel
If your PC has an NVIDIA graphics card:
- Right-click Desktop
- Open NVIDIA Control Panel
- Click Rotate Display
- Choose the desired orientation
- Click Apply
This option is especially useful for professional workstations and gaming systems.
Method 5: Rotate Screen Using AMD Software
For AMD graphics:
- Open AMD Software: Adrenalin Edition.
- Go to Settings.
- Select Display.
- Enable rotation if available.
- Apply the preferred orientation.
Some AMD driver versions place the rotation option under advanced display settings.
How to Rotate Multiple Monitors
Windows 11 lets you rotate each monitor independently.
To do this:
- Open Display Settings.
- Click the monitor you want to rotate.
- Change Display Orientation.
- Apply the changes.
This is useful when using one landscape monitor and one portrait monitor.
Which Orientation Should You Choose?
| Orientation | Best For |
|---|---|
| Landscape | Everyday use |
| Portrait | Coding and reading |
| Landscape Flipped | Ceiling-mounted displays |
| Portrait Flipped | Specialized installations |
Common Errors and Fixes
Screen Rotates Accidentally
Disable keyboard shortcuts in your graphics software if supported.
Display Orientation is Grayed Out
Possible causes:
- Outdated graphics driver
- Remote Desktop session
- Unsupported display adapter
- Virtual machine limitations
Update your graphics drivers and restart Windows.
Keyboard Shortcut Doesn’t Work
Most manufacturers disable hotkeys.
Instead, use Display Settings.
External Monitor Won’t Rotate
Some monitors or docking stations restrict orientation changes.
Check:
- Graphics drivers
- Dock firmware
- Monitor compatibility
Screen Looks Stretched
After rotation:
Adjust:
- Resolution
- Scaling
- Refresh rate
These settings are available in Display Settings.
Best Practices / Pro Tips
Use Portrait Mode for Productivity
Portrait mode reduces scrolling when reading long webpages or coding.
Keep Graphics Drivers Updated
Updated drivers improve compatibility and prevent display issues.
Confirm Before Timeout
Windows gives around 15 seconds to confirm changes.
Always click Keep changes after rotating the display.
Rotate the Physical Monitor
If using portrait mode, rotate the monitor itself before changing Windows settings.
Most adjustable monitor stands support 90-degree rotation.
Check SSD Health
If your PC feels slow while opening Display Settings or graphics software, it’s a good idea to check your storage drive’s condition. Read our guide:
https://multicaretechnical.com/how-to-check-ssd-health-in-windows-10-2026-complete-guide
Improve Windows Security
After configuring your display, consider reviewing Windows 11 security features like Smart App Control. Learn more here:
https://multicaretechnical.com/how-to-turn-off-smart-app-control-in-windows-11-2026-guide
For Gaming PCs
If multiple users share your gaming computer, you may also want to understand Riot account restrictions. See our guide:
https://multicaretechnical.com/how-to-disable-parental-controls-on-league-of-legends-2026-guide
Frequently Asked Questions (FAQ)
1. How do I rotate my screen back to normal in Windows 11?
Open Display Settings, select Landscape, and click Keep changes.
2. Why is my Windows 11 screen sideways?
This usually happens because the display orientation changed accidentally or a graphics shortcut was triggered.
3. Does Windows 11 support portrait mode?
Yes. Windows 11 fully supports portrait orientation for both single and multiple monitors.
4. Why don’t keyboard shortcuts rotate my screen?
Many modern graphics drivers disable rotation shortcuts. Use Display Settings instead.
5. Can I rotate only one monitor?
Yes. Windows 11 allows each connected display to have its own orientation.
Conclusion
Rotating your screen in Windows 11 is a quick and useful feature that can improve productivity, especially when using vertical monitors for coding, reading, or document editing. The simplest method is through Display Settings, while Intel, NVIDIA, and AMD graphics tools provide additional control for supported hardware.
If your screen rotates unexpectedly or the option is unavailable, updating your graphics drivers and checking your display configuration usually resolves the issue. With the right orientation and setup, you can make better use of your workspace and enjoy a more comfortable viewing experience.