
Have you accidentally deleted an important file from your Windows 11 computer? Perhaps you removed a work document, lost family photos, deleted an Excel spreadsheet, or emptied the Recycle Bin without checking its contents.
The good news is that deleted files may still be recoverable, depending on how they were deleted, where they were stored, and whether a backup exists.
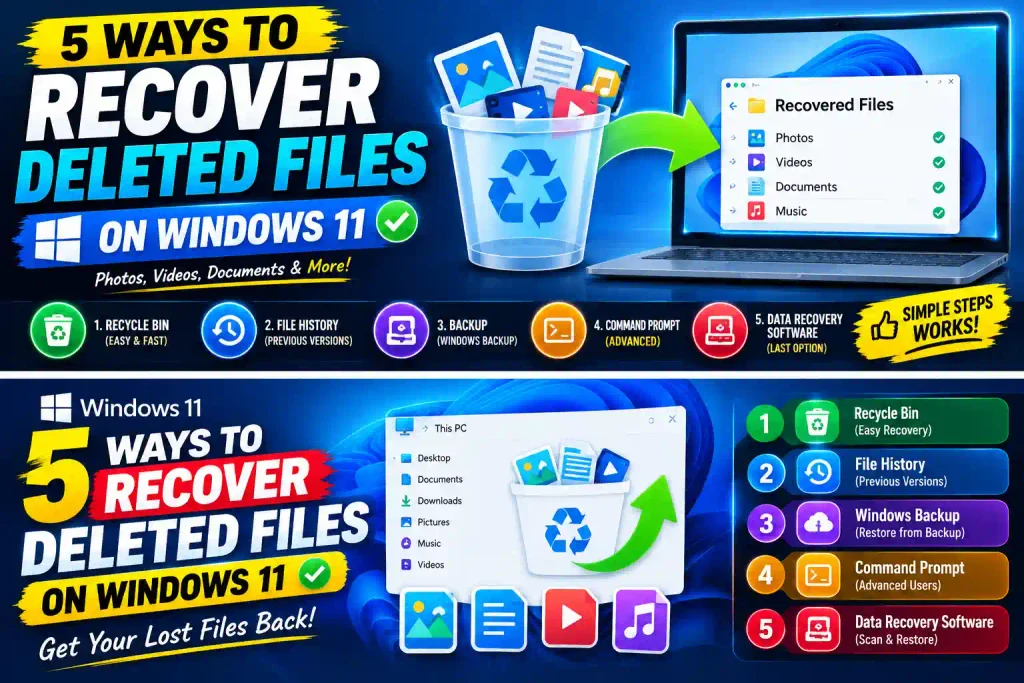
Windows 11 provides several recovery options, including the Recycle Bin, File History, Windows File Recovery, and cloud backups. You can also use third-party data recovery software when built-in methods are unsuccessful.
However, acting quickly is important. Saving new files or installing applications on the affected drive can reduce the chances of recovering deleted data.
In this guide, you’ll learn five ways to recover deleted files on Windows 11, with step-by-step instructions, troubleshooting solutions, and practical tips to prevent future data loss.
Quick Answer: How to Recover Deleted Files on Windows 11
To recover deleted files on Windows 11, follow these steps:
- Open the Recycle Bin, select your deleted files, right-click, and choose Restore.
- Check File History or Previous Versions for an earlier copy of your files.
- Look in the OneDrive Recycle Bin or your existing Windows backups.
- Use Microsoft’s Windows File Recovery tool to scan the affected drive.
- Try reputable third-party recovery software if other methods fail.
Important: If you permanently deleted files, stop using the affected drive as much as possible. Recover any files to a separate storage device. Recovery is not guaranteed, particularly if the data has been overwritten or an SSD has processed TRIM operations.
Table of Contents
- Check the Recycle Bin
- Recover Files Using File History
- Restore Deleted Files from OneDrive or Windows Backup
- Recover Files Using Windows File Recovery
- Use Third-Party Data Recovery Software
- Common Errors and Fixes
- Best Practices to Prevent Data Loss
- Frequently Asked Questions
1. Check the Recycle Bin
The Recycle Bin is the first place you should check after accidentally deleting a file in Windows 11.
When you delete a typical file from your computer using File Explorer, Windows usually moves it to the Recycle Bin instead of immediately removing its contents from the storage device.
You can restore these files to their original locations without installing additional software.
Step-by-Step Instructions
Step 1: Open the Recycle Bin
Double-click the Recycle Bin icon on your desktop.
If you cannot find it, open Windows Search, type Recycle Bin, and select the matching result.
Step 2: Locate the deleted file
Browse through the deleted items. You can look for the file by its name, type, or deletion date.
If you remember the original file name, locating it should be easier.
Step 3: Restore the file
Right-click the file you want to recover and select Restore.
Windows will return the file to its original location.
Step 4: Verify the recovered file
Open the original folder and confirm that the file is available and working correctly.
How to Restore Multiple Deleted Files
If you accidentally deleted several files, you can restore them together.
- Open the Recycle Bin.
- Hold Ctrl and select the files you need.
- Right-click one of the selected files.
- Choose Restore.
You can also press Ctrl + A to select all items in the Recycle Bin.
When This Method Does Not Work
The Recycle Bin may not contain your deleted files if:
- You used Shift + Delete.
- You manually emptied the Recycle Bin.
- The files were deleted from certain removable or network locations.
- The files were too large for the configured Recycle Bin settings.
- The files were deleted using an application that bypassed the Recycle Bin.
If you cannot find your files here, continue to the next recovery method.
2. Recover Files Using File History
File History is a Windows backup feature that can save copies of files from selected folders.
If you enabled File History before deleting your files, you may be able to recover an earlier version of a document, photo, or other personal file.
This method is especially useful for users who regularly back up their Documents, Pictures, Desktop, and other important folders.
Step-by-Step Instructions
Step 1: Open the original folder
Open File Explorer and navigate to the folder where the deleted file was originally stored.
For example, if you deleted a spreadsheet from Documents, open that folder.
Step 2: Open folder properties
Right-click the folder and select Properties.
Step 3: Check Previous Versions
Select the Previous Versions tab.
If Windows has applicable saved versions, they may appear in the list.
Step 4: Select an earlier version
Choose a version dated before you deleted the file.
Click Open if available to inspect the contents before restoring anything.
Step 5: Recover the required file
Copy the missing file from the earlier version to another location.
If you use Restore, be aware that restoring an entire folder version can replace its current contents. Copying only the required file is generally safer when you have newer files to preserve.
What If Previous Versions Is Empty?
If no previous versions are available, Windows may not have a suitable backup for that folder.
You can check File History through Control Panel:
- Open Control Panel.
- Select System and Security.
- Open File History.
- Check whether File History is enabled and whether its backup drive is available.
File History cannot restore files that were never included in a backup.
3. Restore Deleted Files from OneDrive or Windows Backup
If you use OneDrive to synchronize your files, you may be able to recover deleted documents directly from the cloud.
This is particularly useful if your Desktop, Documents, or Pictures folders were included in OneDrive synchronization.
OneDrive has its own Recycle Bin, separate from the Recycle Bin on your Windows 11 computer.
Method A: Recover Files from OneDrive
Step 1: Open the official OneDrive website:
Step 2: Sign in using the Microsoft account connected to your computer.
Step 3: Open the Recycle Bin from the OneDrive navigation menu.
Step 4: Search for the deleted file or folder.
Step 5: Select the item and click Restore.
If the file is still available for recovery, it should return to its previous OneDrive location and may synchronize back to your computer.
Keep in mind that OneDrive’s retention periods depend on your account type and organizational settings. Files permanently deleted from the cloud Recycle Bin may not be recoverable.
Method B: Check Windows Backup
Windows Backup can preserve supported files, settings, and preferences associated with your Microsoft account, depending on your configuration.
To check your settings:
- Press Windows + I to open Settings.
- Select Accounts.
- Open Windows backup.
- Review the available backup and synchronization options.
If you previously created a backup using another backup application or an external drive, check that backup as well.
Pro tip: Cloud synchronization is not always the same as an independent backup. Deleting a synchronized file may also delete it from other synchronized devices, so check the cloud Recycle Bin and any separate backups.
4. Recover Files Using Windows File Recovery
Windows File Recovery is Microsoft’s command-line utility for attempting to recover deleted files from supported local storage devices.
It can be helpful when files are missing from the Recycle Bin and you do not have an available backup.
Unlike the Recycle Bin, this tool requires you to enter commands and specify the source and destination drives.
Step 1: Install Windows File Recovery
Open the Microsoft Store and search for Windows File Recovery.
Install the official application published by Microsoft.
You can also review Microsoft’s documentation here:
https://support.microsoft.com/windows
Search for Windows File Recovery to find the current installation and usage instructions.
Step 2: Prepare a Separate Recovery Drive
Before scanning, connect another storage device with sufficient free space.
For example:
| Drive | Purpose |
|---|---|
| C: | Drive containing deleted files |
| E: | Destination for recovered files |
Do not save recovered files to the same drive you are scanning. This can overwrite other deleted data that you may still need.
Step 3: Open Windows File Recovery
Open the Start menu and search for Windows File Recovery.
Run the application as administrator if required.
Step 4: Enter a Recovery Command
Suppose you deleted PDF documents from your Documents folder on drive C: and want to recover them to drive E:.
You can try this command:
winfr C: E: /regular /n \Users\YourUsername\Documents\*.pdfReplace YourUsername with your actual Windows user folder name.
This command attempts to recover matching PDF files from the specified folder.
If the Regular mode does not find your files, you can try an Extensive scan:
winfr C: E: /extensive /n *.pdfThe Extensive mode can take longer and may scan more broadly.
These commands are examples. Recovery options depend on the drive’s file system and the deletion circumstances. Check Microsoft’s current documentation for supported syntax and modes before running a recovery operation.
Step 5: Check the Recovered Files
When the recovery process finishes, inspect the destination drive.
Open the recovered files and confirm that their contents are readable.
A recovery operation may find a file without successfully restoring every part of its original contents.
Regular vs. Extensive Mode
| Mode | General purpose |
|---|---|
| Regular | An initial recovery attempt, especially for supported NTFS volumes |
| Extensive | A broader recovery attempt when Regular mode does not find the required files |
Windows File Recovery supports different scenarios depending on the file system. Check Microsoft’s documentation for the correct mode for your storage device.
5. Use Third-Party Data Recovery Software
If Windows recovery methods do not work, third-party data recovery software may provide another option.
Many recovery programs offer graphical interfaces that let you scan a drive, preview recoverable files, and select specific items.
However, recovery software cannot guarantee that deleted files will be restored.
Step-by-Step Instructions
Step 1: Choose reputable software
Research the developer, privacy policy, pricing, supported file systems, and independent reviews before installing a recovery application.
Avoid unknown programs that make unrealistic promises.
Step 2: Avoid unnecessary activity on the affected drive
If possible, install the software on a separate drive or use another computer.
This helps reduce the risk of overwriting deleted data.
Step 3: Select the correct storage device
Open the recovery application and select the drive where the files were originally stored.
Double-check the drive letter before starting the scan.
Step 4: Scan for deleted files
Run the available scan and wait for it to finish.
A deeper scan may take significantly longer than a quick scan.
Step 5: Preview and recover files
If the software offers a preview, check whether the files are readable.
Select the files you need and recover them to a separate storage device.
When Should You Contact a Professional?
Consider a professional data recovery service if your drive:
- Makes clicking, grinding, or other unusual noises.
- Is repeatedly disconnecting.
- Is not detected by Windows.
- Shows signs of physical damage.
- Contains critical business or personal data.
If a drive may be physically failing, stop using it and avoid repeated recovery scans.
Common Errors and Fixes
You may encounter several problems while trying to recover deleted files on Windows 11.
| Problem | Possible cause | What to do |
|---|---|---|
| Recycle Bin is empty | Files were permanently deleted or the Bin was emptied | Check backups and recovery tools |
| Previous Versions is empty | No applicable saved version exists | Check File History and backup drives |
| OneDrive file is missing | Wrong account or permanent deletion | Check the correct account and cloud Recycle Bin |
| Windows File Recovery command fails | Incorrect syntax, permissions, or drive selection | Verify the command and source/destination drives |
| Recovered files are corrupted | Data may have been overwritten or partially recovered | Try another available backup or earlier version |
| Recovery software finds nothing | Data may no longer be recoverable | Check backups and consider professional help |
Why Permanently Deleted Files May Be Lost
When Windows deletes a file, it generally marks the associated storage space as available for reuse.
The underlying data may remain temporarily, but new files can overwrite it.
On SSDs, TRIM and other storage operations can make recovery more difficult or impossible.
For this reason, stop using the affected drive as soon as you realize important files are missing.
Best Practices to Prevent Data Loss
Recovering deleted files can be complicated, so prevention is essential.
1. Enable Regular Backups
Use File History, Windows Backup, OneDrive, or another suitable backup solution.
For important files, maintain an independent backup on a separate device or storage system.
2. Follow the 3-2-1 Backup Rule
Maintain:
- Three copies of important data.
- Two different types of storage.
- One copy stored off-site.
This reduces your dependence on a single computer or storage device.
3. Check Before Emptying the Recycle Bin
Review its contents before permanently deleting everything.
This simple habit can prevent accidental loss of important documents and photos.
4. Organize Your Important Files
Use clearly named folders for work documents, personal files, and important records.
For spreadsheet users, this related guide may also be helpful:
How to Add a Total Row in Excel – Easy Guide for Beginners and Professionals
5. Be Careful When Changing Windows Settings
Before making major system changes, ensure that your important files are backed up.
If you are troubleshooting display settings, see:
How to Rotate Screen in Windows 11 – Complete Guide
If you are managing Windows applications, you may also find this tutorial useful:
How to Uninstall Microsoft Edge on Windows 11 – Step-by-Step Guide
Conclusion
Recovering deleted files on Windows 11 is possible in many situations, but success depends on how the files were deleted, whether a backup exists, and whether their data is still recoverable.
Start with the Recycle Bin, then check File History, OneDrive, and Windows Backup. If those options do not work, try Microsoft’s Windows File Recovery tool or reputable third-party recovery software.
The most important step is to stop using the affected drive and recover files to a separate storage device.
For long-term protection, maintain regular backups of your important documents, photos, and business data. A reliable backup strategy can save you time and help prevent permanent data loss.
Frequently Asked Questions
1. How do I recover permanently deleted files in Windows 11?
Check OneDrive, File History, Windows Backup, and other existing backups. If no backup is available, try Windows File Recovery or reputable recovery software. Success depends on whether the deleted data is still recoverable.
2. Can I recover deleted files after emptying the Recycle Bin?
Sometimes. If the deleted data has not been overwritten, recovery may still be possible. Stop using the affected drive and check your backups or recovery tools.
3. How can I recover deleted files without software?
You can recover files without installing additional software if they are still in the Recycle Bin, available through File History, or stored in OneDrive or another existing backup.
4. Can I recover deleted files from an SSD in Windows 11?
Recovery may be possible, but SSDs can be more challenging because of TRIM and other storage operations. Minimize further use of the SSD and check your backups immediately.
5. Where do permanently deleted files go in Windows 11?
Windows generally marks the file’s storage space as available for reuse rather than immediately erasing every underlying data block. The contents may remain temporarily, but overwriting and other storage operations can make recovery impossible.