Introduction
If your Chromebook won’t start, displays ChromeOS errors, or gets stuck on the startup screen, you may need to reinstall the operating system. Fortunately, Google provides a free tool called Chromebook Recovery Utility that makes recovering ChromeOS simple.
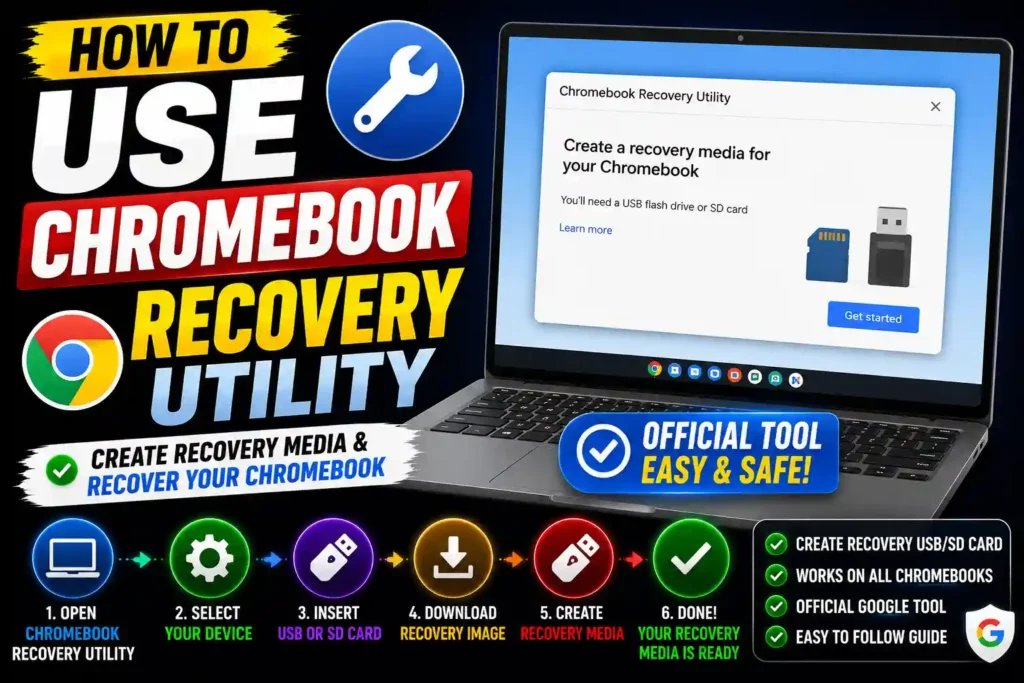
The Chromebook Recovery Utility allows you to create a recovery USB flash drive or SD card using another working computer. You can then use that recovery media to reinstall ChromeOS on your Chromebook and restore it to working condition.
Whether you’re a Chromebook owner, school administrator, or IT professional, this guide walks you through every step—from installing the utility to creating recovery media and troubleshooting common issues.
Quick Answer
To use Chromebook Recovery Utility:
- Install the Chromebook Recovery Utility extension in Google Chrome.
- Connect an empty USB flash drive or SD card (at least 8 GB).
- Launch the Recovery Utility.
- Enter your Chromebook model or recovery code.
- Create the recovery media.
- Insert the USB drive into the Chromebook.
- Boot into Recovery Mode.
- Follow the on-screen instructions to reinstall ChromeOS.
This process erases all data on the Chromebook, so back up important files whenever possible.
Table of Contents
- What is Chromebook Recovery Utility?
- When should you use it?
- Requirements
- How to create recovery media
- How to recover a Chromebook
- Common errors and fixes
- Best practices
- FAQs
- Conclusion
What Is Chromebook Recovery Utility?
Chromebook Recovery Utility is a free tool provided by Google that creates recovery media for ChromeOS devices.
It helps you:
- Reinstall ChromeOS
- Repair corrupted system files
- Recover boot failures
- Restore factory software
- Prepare recovery media for multiple Chromebooks
The utility works on:
- Windows
- macOS
- ChromeOS
- Linux (using Chrome browser)
When Should You Use Chromebook Recovery Utility?
You should use the recovery utility if your Chromebook:
- Shows ChromeOS is missing or damaged
- Won’t boot
- Keeps restarting
- Freezes during startup
- Fails after a ChromeOS update
- Has corrupted system files
- Needs a fresh operating system installation
It is generally not needed for minor software issues that can be resolved with a simple restart or Powerwash.
Requirements Before You Begin
Prepare the following items:
- A working Windows, Mac, Linux, or Chromebook computer
- Google Chrome browser
- Chromebook Recovery Utility extension
- USB flash drive or SD card (8 GB or larger)
- Stable internet connection
- Chromebook model number or recovery code
Important: Creating recovery media erases everything on the USB drive or SD card.
Step-by-Step Guide
Step 1: Install Chromebook Recovery Utility
- Open Google Chrome.
- Visit the Chrome Web Store.
- Search for Chromebook Recovery Utility.
- Click Add to Chrome.
- Select Add Extension.
The utility will now appear in your Chrome extensions.
Step 2: Launch the Recovery Utility
- Click the Extensions icon.
- Open Chromebook Recovery Utility.
- Click Get Started.
Step 3: Identify Your Chromebook
You have two options:
Option 1: Enter Your Model
Select your Chromebook manufacturer and model from the list.
Option 2: Enter Recovery Code
If your Chromebook displays a recovery screen, type the recovery code shown on the display.
The utility automatically downloads the correct version of ChromeOS.
Step 4: Insert a USB Drive
Connect:
- USB flash drive
- SD card
It should have at least 8 GB of available storage.
Select the correct drive.
Click Continue.
Step 5: Create Recovery Media
Click Create Now.
The utility will:
- Download ChromeOS
- Verify the image
- Format the USB drive
- Copy recovery files
This may take several minutes depending on your internet speed.
When finished, safely eject the USB drive.
How to Recover Your Chromebook
Step 1: Turn Off the Chromebook
Power off the Chromebook completely.
Step 2: Enter Recovery Mode
Most Chromebooks use this shortcut:
Esc + Refresh + Power
Some models use different key combinations. Refer to your Chromebook’s documentation if necessary.
Step 3: Insert the Recovery USB
Insert the recovery USB drive or SD card.
The Chromebook automatically detects the recovery media.
Step 4: Follow the Instructions
The recovery process begins automatically.
Do not:
- Remove the USB drive
- Turn off the Chromebook
- Close the lid
The process usually takes 10–30 minutes.
Step 5: Remove the USB Drive
When prompted:
- Remove the recovery media.
- Restart the Chromebook.
ChromeOS will load as if the device were new.
Common Errors and Fixes
Error: Recovery Image Is Invalid
Cause
Corrupted download.
Fix
Delete the recovery media and create it again using a stable internet connection.
Error: USB Drive Not Detected
Cause
Faulty or incompatible USB drive.
Fix
- Try another USB port.
- Use a different USB flash drive.
- Ensure the drive is at least 8 GB.
Error: Recovery Failed
Cause
Damaged USB media or interrupted installation.
Fix
Create new recovery media and repeat the recovery process.
Error: Recovery Utility Won’t Open
Cause
Chrome extension issue.
Fix
- Restart Chrome.
- Reinstall the Chromebook Recovery Utility extension.
- Update Google Chrome.
Error: Chromebook Still Won’t Boot
Cause
Possible hardware issue.
Fix
If recovery repeatedly fails, contact the Chromebook manufacturer for hardware diagnostics or repair.
Best Practices / Pro Tips
To make Chromebook recovery easier and more reliable:
- Use a high-quality USB flash drive.
- Ensure a stable internet connection when downloading the recovery image.
- Always eject the USB drive safely after creating recovery media.
- Keep your Chromebook charged or connected to power during recovery.
- Back up important files before performing recovery whenever possible.
- Label your recovery USB if you manage multiple Chromebook models in a business or school environment.
If you’re interested in more technology tutorials, you may also find these guides useful:
- How to Uninstall Microsoft Edge on Windows 11 (Step-by-Step Guide)
https://multicaretechnical.com/how-to-uninstall-microsoft-edge-on-windows-11-step-by-step-guide - How to Fix Bluetooth Disappeared Windows 11 (12 Proven Solutions)
https://multicaretechnical.com/how-to-fix-bluetooth-disappeared-windows-11-12-proven-solutions - How to Delete a Snapchat Story (Step-by-Step Guide for 2026)
https://multicaretechnical.com/how-to-delete-a-snapchat-story-step-by-step-guide-for-2026
Frequently Asked Questions
1. What does Chromebook Recovery Utility do?
It creates a recovery USB drive or SD card that allows you to reinstall ChromeOS on a Chromebook experiencing software or startup issues.
2. Does Chromebook Recovery Utility erase data?
Yes. Creating recovery media erases the USB drive, and recovering a Chromebook removes all local data stored on the device.
3. Can I use Chromebook Recovery Utility on Windows?
Yes. The utility works with Google Chrome on Windows, macOS, Linux, and ChromeOS.
4. What size USB drive do I need?
Google recommends using a USB flash drive or SD card with at least 8 GB of storage.
5. What should I do if recovery keeps failing?
Try creating a new recovery USB, use a different flash drive, verify the Chromebook model, and ensure the recovery image downloads completely. If the problem persists, the Chromebook may have a hardware issue.
Conclusion
Chromebook Recovery Utility is an essential tool for restoring ChromeOS when your Chromebook encounters serious startup or software issues. By creating recovery media on a working computer and following the recovery steps carefully, you can reinstall the operating system and often resolve boot failures without professional assistance.
For home users, students, and IT professionals alike, keeping a compatible USB drive and knowing how to use Chromebook Recovery Utility can save time and reduce downtime. Following the best practices outlined in this guide will help ensure a smooth recovery process and keep your Chromebook running reliably.