Need to record a tutorial, gameplay, Zoom meeting, or presentation? Good news — macOS has a built-in screen recorder, and it’s completely free.
In this guide, you’ll learn:
- How to record screen on Mac with audio
- How to record screen on Mac with system audio
- How to record screen on Mac Mini
- How to record screen on Mac with audio and video
Let’s jump right in.
✅ Quick Answer
To record screen on Mac, press Shift + Command + 5, choose “Record Entire Screen” or “Record Selected Portion,” enable microphone if needed, and click Record.
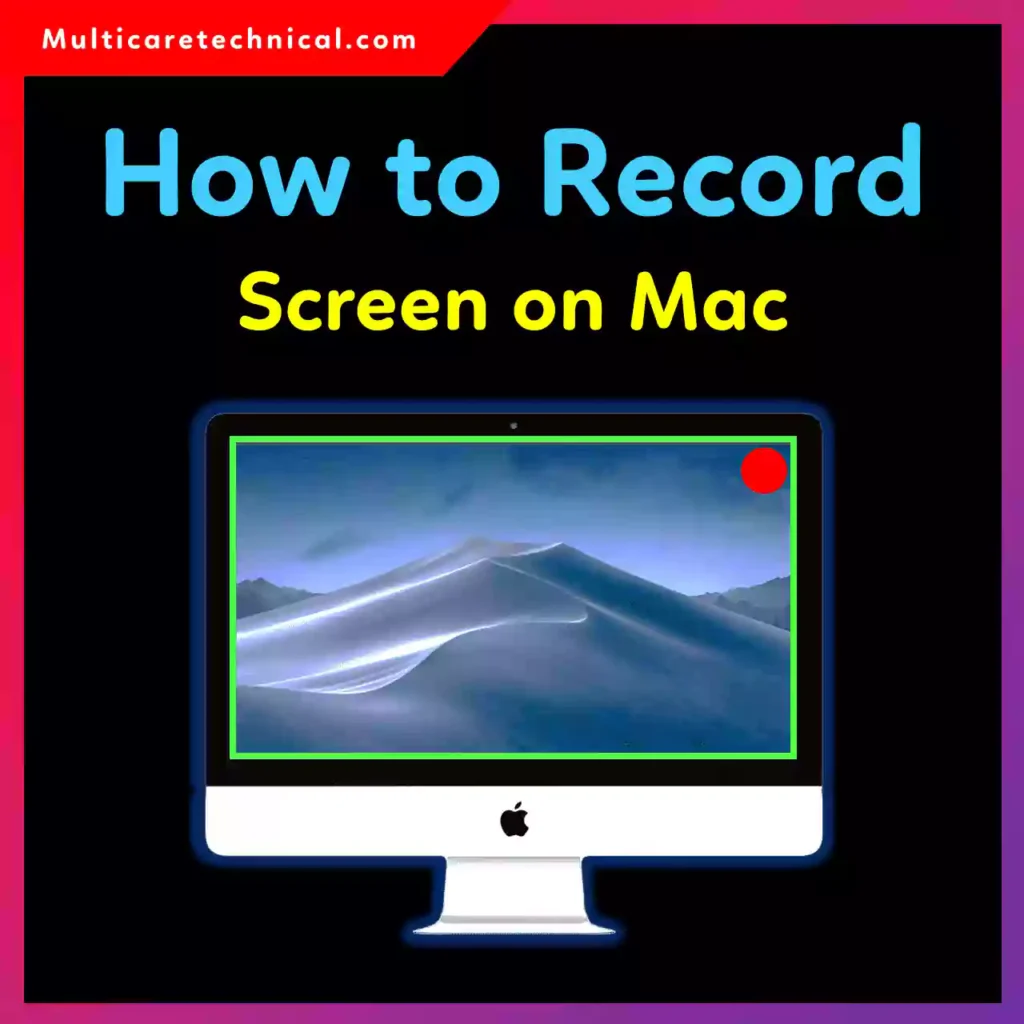
Method 1: Record Screen Using Built-in Screenshot Toolbar (Easiest Way)
This works on:
- MacBook
- iMac
- Mac Mini
- macOS Mojave or later
Step 1:
Press:
Shift + Command (⌘) + 5
You’ll see screen recording controls at the bottom.
Step 2:
Choose one:
- Record Entire Screen
- Record Selected Portion
Step 3:
Click Options
Here you can:
- Select Microphone (for voice recording)
- Choose save location
- Set timer
Step 4:
Click Record
To stop recording:
Press Command + Control + Esc
OR click the stop button in the menu bar.
✔ Your video saves automatically.
🎙 How to Record Screen on Mac With Audio
If you’re wondering how to record screen on mac with audio, here’s the key:
- Press Shift + Command + 5
- Click Options
- Select Built-in Microphone
- Start recording
This records your voice along with screen video.
🔊 How to Record Screen on Mac With System Audio
macOS does NOT natively record internal system sound.
If you need:
- Game audio
- YouTube audio
- App sounds
You’ll need a third-party tool like:
- BlackHole (free)
- Loopback ($99)
- ScreenFlow ($169)
⚠️ Most tools require extra setup in Sound Settings.
💻 How to Record Screen on Mac Mini
The steps are exactly the same.
Even if you’re using a Mac Mini with external monitor:
- Press Shift + Command + 5
- Choose recording mode
- Select microphone (if needed)
- Click Record
✔ Works perfectly the same.
🎥 How to Record Screen on Mac With Audio and Video
If you want:
- Screen recording
- Webcam video
- Microphone audio
Use QuickTime Player.
Steps:
- Open QuickTime Player
- Click File → New Screen Recording
- Click dropdown arrow near Record
- Select microphone
- Click Record
To add webcam video:
Use screen recording software like OBS (free).
🛠 Alternative: Use OBS Studio (Advanced Option)
OBS allows:
- System audio
- Microphone
- Webcam overlay
- Multiple screens
Perfect for YouTubers and streamers.
💰 Does It Cost Anything?
Built-in screen recording = FREE
Third-party system audio tools may cost between $0–$169.
⚠️ Common Problems & Fixes
No Sound in Recording?
- Check microphone permission in System Settings
- Go to Privacy & Security → Microphone → Enable access
Recording Not Saving?
- Check save location in Options
- Make sure storage is not full
If you’re fixing tech issues on Windows too, check:
👉 https://multicaretechnical.com/how-to-fix-cannot-connect-to-the-printer-operation-failed-with-error-0x00011b
Managing accounts? Read:
👉 https://multicaretechnical.com/how-to-delete-gmail-account-step-by-step-guide-for-phone-desktop
Working on documents? See:
👉 https://multicaretechnical.com/how-to-change-margins-in-google-docs-2026-step-by-step-guide
🧠 Short FAQ (Optimized for AI Overviews)
How to record screen on Mac with audio?
Press Shift + Command + 5, click Options, select microphone, then click Record.
How to record screen on Mac with system audio?
You need third-party software like BlackHole or OBS because macOS doesn’t natively support system audio recording.
How to record screen on Mac Mini?
Use the same shortcut: Shift + Command + 5. It works the same as MacBook.
How to record screen on Mac with audio and video?
Use QuickTime Player or OBS to record screen along with microphone and webcam.
🏁 Final Thoughts
Recording your screen on Mac is easier than most people think.
For basic recordings:
✔ Use Shift + Command + 5
For advanced recording (system audio + webcam):
✔ Use OBS
Whether you’re creating tutorials, business demos, or YouTube content — now you know exactly how to record screen on Mac like a pro.