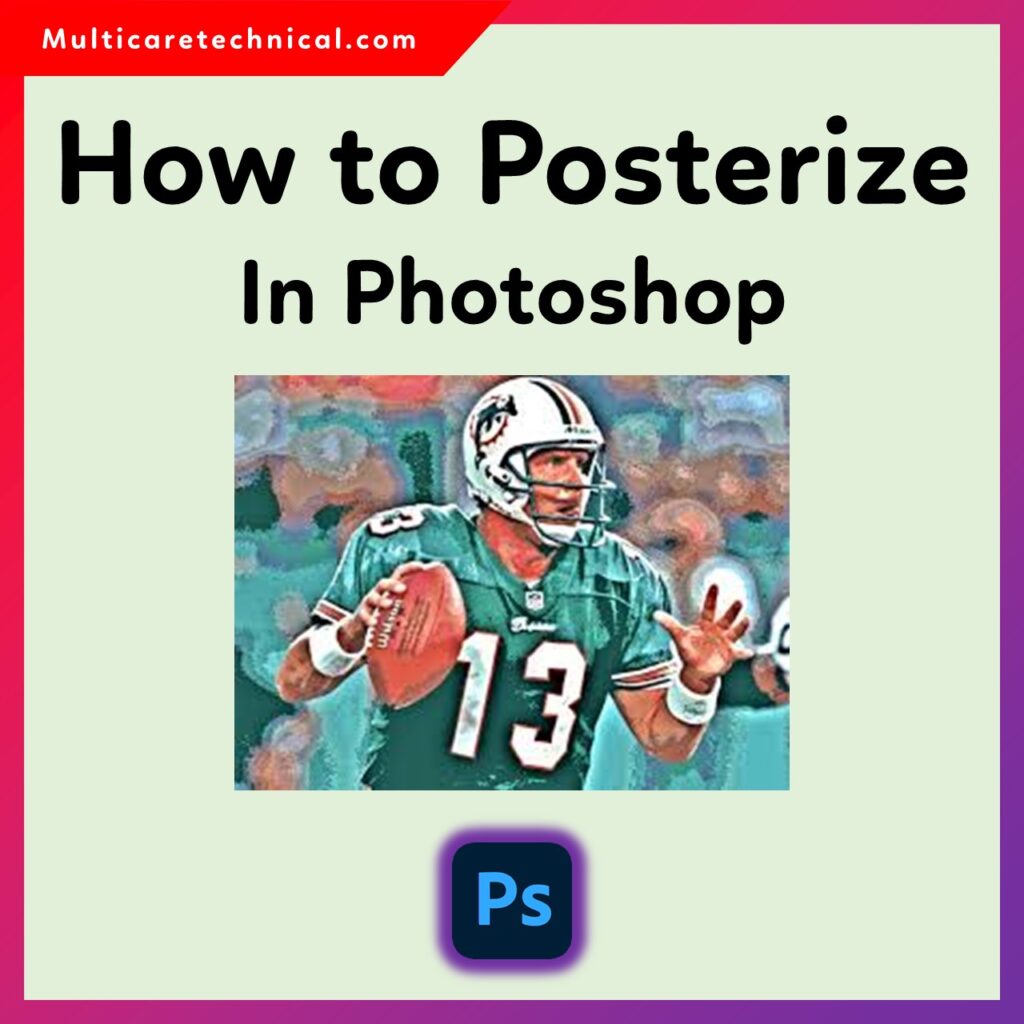
Creating a posterized effect in Photoshop is a great way to give your images a bold, stylized, and artistic look. The posterize effect reduces the number of colors in an image, making it look like a digital painting or pop-art style poster. In this guide, we’ll explain how to posterize in Photoshop step-by-step.

🎨 What Does Posterize Mean in Photoshop?
Posterizing an image means reducing the number of color tones or levels in it.
Instead of smooth gradients, you get flat color areas, creating a dramatic, high-contrast look — perfect for posters, artwork, and stylized photos.
For example:
- An image with 256 color levels can be reduced to 4 or 5 levels to create a classic pop-art style effect.
🖼️ How to Posterize in Photoshop (Step-by-Step Guide)
Follow these simple steps to apply the posterize effect in Adobe Photoshop:
- Open your image in Photoshop.
- From the top menu, click on Image > Adjustments > Posterize.
- A dialog box will appear showing the Levels slider.
- Drag the slider left or right to adjust the number of tonal levels.
- Fewer levels = more dramatic, poster-like effect.
- Higher levels = smoother color transitions.
- Click OK when you’re satisfied with the look.
Your image is now posterized! You can always undo or tweak the effect for a different artistic result.
🧩 Using Adjustment Layers for Non-Destructive Editing
Instead of directly applying the effect, you can use an Adjustment Layer to preserve your original image:
- Go to the Layers panel.
- Click the New Adjustment Layer icon (half-filled circle).
- Choose Posterize from the list.
- Adjust the Levels slider as needed.
This method allows you to modify or remove the effect anytime without affecting your original image.
🤖 Using AI Tools Like ChatGPT for Posterizing or Editing Images
While Photoshop gives you full manual control, AI tools like ChatGPT, Canva AI, or Adobe Firefly can make the process even faster. You can upload an image and describe what you want — for example, “create a posterized effect with bold colors” — and the AI will automatically generate a stylized version.
Such tools are perfect if you don’t have Photoshop or want quick results without adjusting settings manually. However, Photoshop remains the best choice for precise control and professional-level editing.
🔗 Related Photoshop Articles
These tutorials will help you learn more essential Photoshop skills for image optimization and printing.
💡 Creative Uses of Posterize Effect
You can use the Posterize tool to:
- Create pop-art portraits.
- Turn photos into graphic-style artwork.
- Add a vintage or retro look to designs.
- Make striking social media graphics.
Combine the effect with filters and blending modes for even more creative results.
🧠 FAQ – How to Posterize in Photoshop
Q1. What is the purpose of posterizing an image?
Posterizing simplifies an image by reducing color tones, creating a bold and artistic look often used in posters or pop art.
Q2. How can I adjust the posterize effect after applying it?
If you used an Adjustment Layer, simply double-click the layer’s thumbnail and adjust the Levels slider.
Q3. What’s the ideal number of levels for posterizing?
It depends on your preference — usually, 4 to 8 levels create a striking yet balanced effect.
Q4. Can I posterize only a part of an image?
Yes, select a specific area using any selection tool, then apply the Posterize adjustment only to that selection.
Q5. Does posterizing reduce image quality?
Technically yes — it reduces color information. However, the effect is intentional and used for creative styling.
📘 Conclusion
That’s how you can easily posterize an image in Photoshop to create eye-catching, artistic effects. Whether you’re designing posters, digital art, or creative social media visuals, this tool helps you achieve a unique, stylized look in seconds.
For quick AI-based results, you can also use ChatGPT or Adobe Firefly to generate posterized effects automatically with simple text commands.
To further enhance your Photoshop skills, check out our guides on How to Save as WebP in Photoshop Using a Plugin and How to Change DPI in Photoshop — perfect for optimizing your images for web and print.