Introduction
Taking screenshots is a common task in Windows 11, whether you want to capture a funny meme, save important information, or troubleshoot a technical issue. Windows 11 offers several methods for capturing screenshots, and once you’ve taken them, you need to know where they are saved. In this article, we’ll explore various ways to take screenshots in Windows 11 and where to find them after you’ve captured them.
1. Using the Snipping Tool
The Snipping Tool is a versatile built-in application in Windows 11 that allows you to capture screenshots in various modes, such as full-screen, rectangular, or freeform. Once you’ve taken a screenshot using the Snipping Tool, it’s automatically copied to your clipboard, and you can paste it into any application like Microsoft Word or Paint. If you want to save the screenshot as a file, follow these steps:
1. Open the Snipping Tool from the Start Menu or by searching for it in the taskbar.
2. Capture the screenshot using your preferred snip mode.
3. After capturing the screenshot, click on “File” in the Snipping Tool.
4. Choose “Save As” and select the location where you want to save the screenshot. You can also choose the file format (PNG, JPEG, GIF) and provide a name for the screenshot.
5. Click “Save” to store the screenshot in your selected location.
2. Using the Snip & Sketch Tool
Windows 11 also offers the Snip & Sketch tool for capturing and annotating screenshots. To save a screenshot taken with Snip & Sketch, follow these steps:
1. Press Win + Shift + S to open Snip & Sketch or open it from the Start Menu.
2. Capture the screenshot using one of the snip options.
3. After capturing, a notification will appear at the bottom-right corner of the screen. Click on it to open the Snip & Sketch app.
4. Annotate the screenshot if needed and click the “Save As” button.
5. Choose a location to save the screenshot and specify its name and format (PNG or JPEG).
6. Click “Save” to store the screenshot.
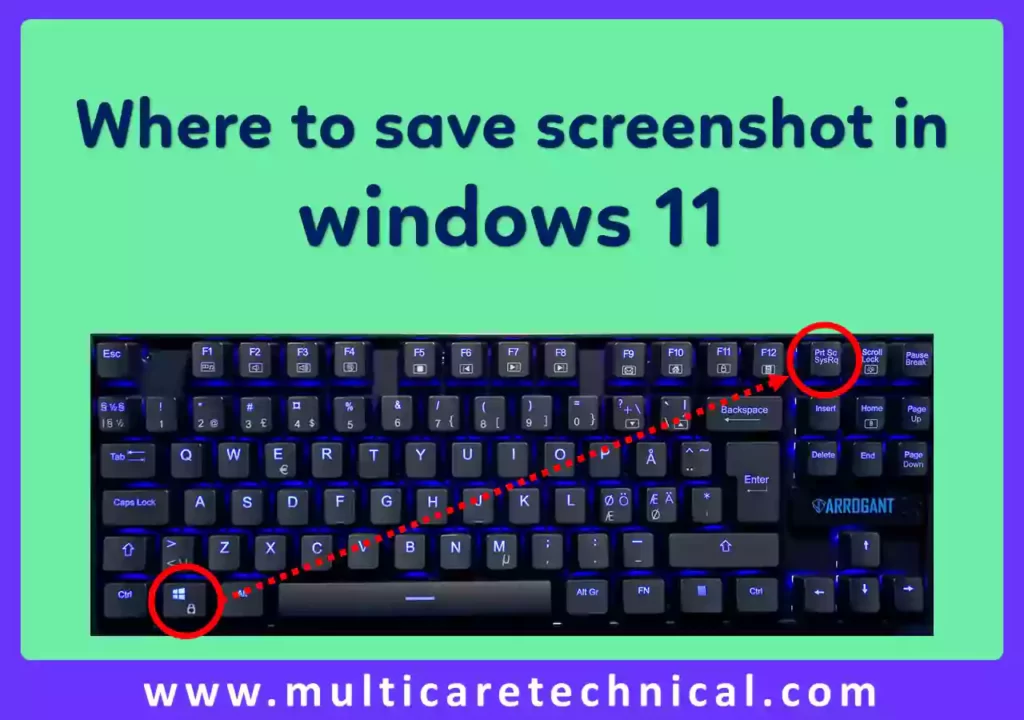
3. Using the Print Screen (PrtScn) Key
The Print Screen key is a classic method for taking screenshots in Windows. However, by default, it only copies the screenshot to the clipboard. To save it as a file, follow these steps:
1. Press the PrtScn key to capture the entire screen or Alt + PrtScn to capture the active window.
2. Open an image editor or a document where you want to paste the screenshot.
3. Press Ctrl + V to paste the screenshot.
4. In the image editor, click “File” and choose “Save As” to specify the location and file format (PNG, JPEG, etc.).
5. Click “Save” to save the screenshot.
Conclusion
In Windows 11, capturing and saving screenshots is a breeze thanks to built-in tools like the Snipping Tool and Snip & Sketch, as well as the classic PrtScn key method. After taking a screenshot, you can choose to save it in various file formats and locations of your choice, ensuring easy access and organization of your captured images. Whether you’re using the Snipping Tool, Snip & Sketch, or the PrtScn key, Windows 11 offers flexibility and convenience in managing your screenshots.