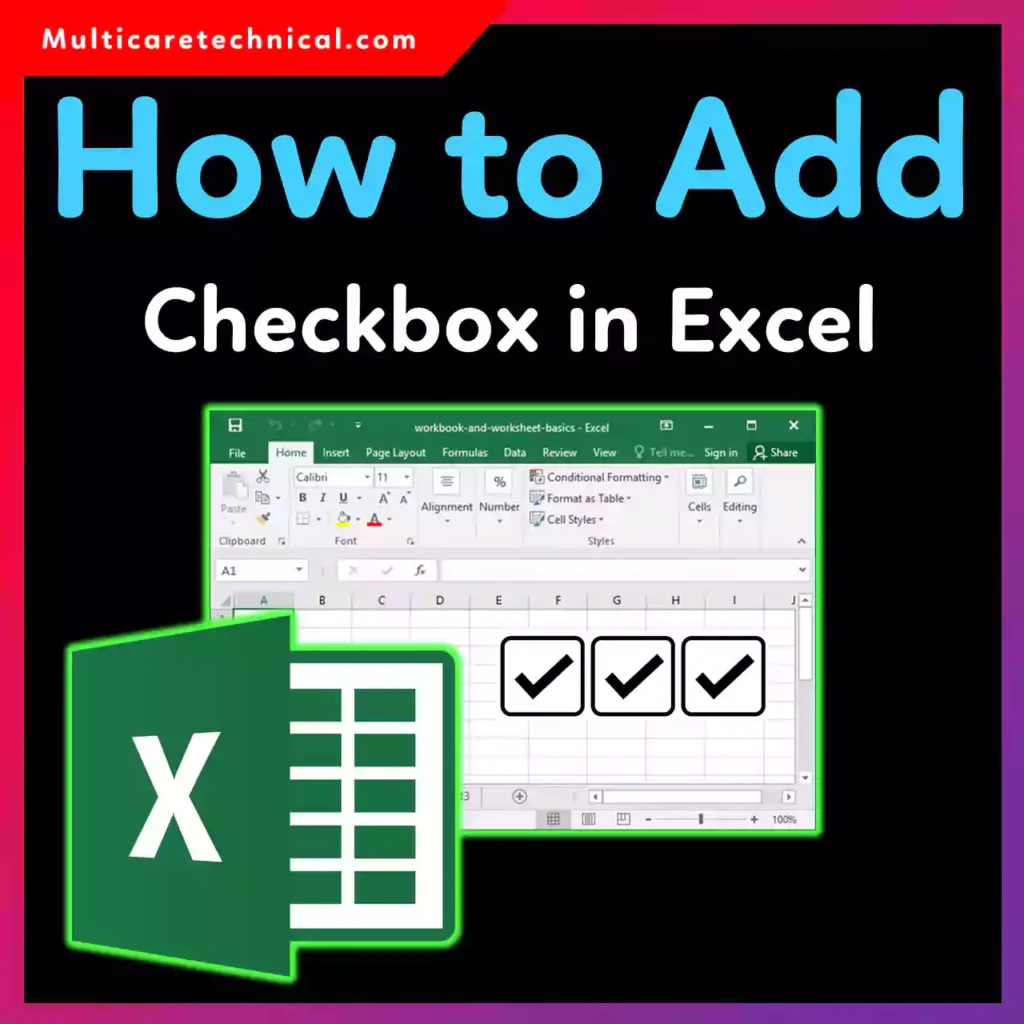
Checkboxes in Excel are incredibly useful for to-do lists, attendance sheets, task trackers, and dashboards. Whether you’re using Excel 2016, Excel 2019, Excel for Mac, or you don’t want to touch the Developer tab, this guide walks you through every working method—step by step.
Let’s break down how to add a checkbox in Excel the easy way.
Why Use Checkboxes in Excel?
Adding checkboxes helps you:
- Track task completion visually
- Create interactive spreadsheets
- Build forms without complex formulas
- Improve productivity and clarity
If your Excel sheet is locked and you can’t insert controls, read this first:
👉 How to unprotect a sheet in Excel with or without password
How to Add a Checkbox in Excel Using Developer Tab (Windows)
This is the classic and most reliable method.
Steps:
- Open Excel
- Go to File → Options → Customize Ribbon
- Check Developer → Click OK
- Open the Developer tab
- Click Insert → Form Controls → Check Box
- Click anywhere in the sheet to place it
✅ Works perfectly in Excel 2016 and Excel 2019.
How to Add a Checkbox in Excel 2016 and Excel 2019
The steps are identical for both versions:
- Enable Developer tab
- Insert Form Control checkbox
- Resize or move as needed
- Right-click to edit label text
💡 Tip: Hold Alt while moving the checkbox to snap it neatly into cells.
How to Add a Checkbox in Excel to Multiple Cells
Need checkboxes in bulk? Here’s the fastest method.
Method:
- Insert one checkbox
- Select it
- Press Ctrl + C
- Select multiple cells
- Press Ctrl + V
For perfectly aligned checkboxes:
- Right-click → Format Control
- Set consistent size and placement
How to Add a Checkbox in Excel Table
Excel tables don’t support native checkbox columns automatically, but this workaround works well.
Steps:
- Insert checkbox outside the table
- Copy and paste it into table rows
- Resize to fit each cell
- Lock checkbox position using Format Control
✔ Ideal for task tables and trackers.
How to Add a Checkbox in Excel Without Developer Tab
Don’t want to enable Developer? You still have options.
Option 1: Use Symbols (Visual Only)
- Go to Insert → Symbol
- Choose ☑ or ☐
❌ Not interactive
✔ Works for printable checklists
Option 2: Use Data Validation (Yes/No)
- Data → Data Validation → List
- Enter:
Yes,No
✔ Simple logic without Developer tools
How to Add a Checkbox in Excel Mac
Excel for Mac supports checkboxes slightly differently.
Steps (Excel Mac):
- Go to Excel → Preferences
- Enable Developer
- Developer → Insert → Check Box
- Place it in the worksheet
⚠️ Some older Mac versions may have limited Form Controls.
If your keyboard behaves oddly while editing Excel, this guide may help:
👉 How to disable Scroll Lock in Excel on Windows & Mac
Common Problems & Fixes
Checkbox not clickable?
- Sheet may be protected
Checkbox moves when scrolling?
- Format Control → Properties → “Move and size with cells”
Excel lagging after adding many checkboxes?
- Avoid excessive Form Controls in large sheets
For better workflow across Windows apps, also see:
👉 How to put apps on home screen in Windows 10/11
Frequently Asked Questions (Short Answers)
Can I add a checkbox in Excel without Developer?
Yes, but only visual or dropdown alternatives. Interactive checkboxes require Developer.
Does Excel 2019 support checkboxes?
Yes, fully—via the Developer tab.
Can I add checkboxes to multiple cells at once?
Yes. Copy and paste a single checkbox across cells.
Do Excel tables support checkboxes?
Not natively, but you can insert and align them manually.
Conclusion
Now you know how to add a checkbox in Excel on Windows, Mac, Excel 2016, Excel 2019, and even without the Developer tab. Whether you’re building a simple checklist or a powerful tracker, checkboxes make your spreadsheets smarter and more interactive.
Use the method that fits your version—and your workflow.