Introduction
Installing Windows 11 is one of the most common tasks for PC users, IT professionals, and system administrators. Whether you’re upgrading from Windows 10 or performing a clean installation, one of the first questions people ask is: How long does it take to install Windows 11?
The answer depends on several factors, including your computer’s hardware, storage type, internet speed, and whether you’re performing an upgrade or a fresh installation. While some systems complete the process in less than 30 minutes, others may require over an hour.
In this guide, you’ll learn the typical Windows 11 installation times, factors that affect the process, step-by-step installation instructions, common problems, and expert tips to speed things up.
Quick Answer (Featured Snippet)
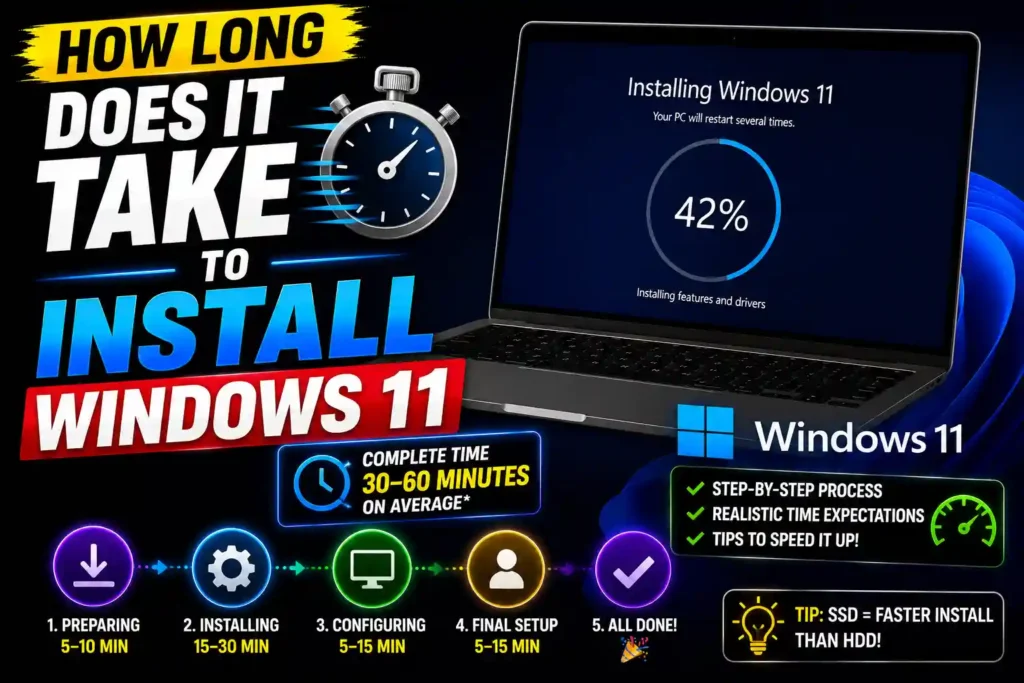
Windows 11 typically takes between 20 and 60 minutes to install.
- Upgrade from Windows 10: 30–90 minutes
- Clean installation on SSD: 20–40 minutes
- Clean installation on HDD: 45–90 minutes
- Initial setup after installation: 10–20 minutes
On modern computers with SSD storage and sufficient RAM, Windows 11 installation usually finishes within 30–45 minutes.
Table of Contents
- How Long Does It Take to Install Windows 11?
- Factors That Affect Installation Time
- Windows 11 Installation Time by Scenario
- Step-by-Step Guide to Install Windows 11
- Common Installation Errors and Fixes
- Best Practices and Pro Tips
- Frequently Asked Questions
- Conclusion
How Long Does It Take to Install Windows 11?
The installation duration varies depending on the installation method and system specifications.
Typical Installation Times
| Installation Type | Estimated Time |
|---|---|
| Upgrade from Windows 10 | 30–90 minutes |
| Clean Install on SSD | 20–40 minutes |
| Clean Install on HDD | 45–90 minutes |
| USB Installation | 20–60 minutes |
| First Boot Setup | 10–20 minutes |
A clean installation is often faster because Windows does not need to migrate old files, applications, and settings.
Factors That Affect Windows 11 Installation Time
Several factors influence how quickly Windows 11 installs.
1. SSD vs HDD
Storage speed has the biggest impact.
SSD Users
Solid State Drives offer significantly faster read and write speeds.
Expected installation time:
- 20–40 minutes
- Faster restarts
- Quicker file extraction
HDD Users
Traditional Hard Disk Drives are slower.
Expected installation time:
- 45–90 minutes
- Slower restarts
- Longer file-copying process
If you’re still using an HDD, upgrading to an SSD can dramatically improve installation and overall system performance.
2. CPU Performance
Modern processors handle installation tasks much faster.
Examples:
- Intel Core i5/i7/i9
- AMD Ryzen 5/7/9
Older dual-core processors may extend installation times significantly.
3. RAM Capacity
More memory allows Windows Setup to operate efficiently.
Recommended:
- Minimum: 4GB RAM
- Better: 8GB RAM
- Ideal: 16GB RAM or more
Systems with low RAM may experience delays during setup.
4. Installation Method
The installation method also affects timing.
Windows Update Upgrade
- Downloads installation files
- Verifies compatibility
- Migrates settings
This generally takes longer.
Bootable USB Installation
- Faster process
- Cleaner setup
- Better for troubleshooting
Many IT professionals prefer USB installation for reliability.
5. Internet Speed
Internet speed mainly affects downloading Windows 11 files.
Slow connections can add significant waiting time before installation even begins.
Typical Windows 11 download size:
- 4GB–6GB or more
Windows 11 Installation Timeline Explained
Here’s what happens during a typical installation.
Stage 1: Download Files
Time:
- 5–60 minutes
Depends largely on internet speed.
Stage 2: Preparing Installation
Time:
- 5–15 minutes
Windows checks compatibility and prepares installation files.
Stage 3: Installing Windows
Time:
- 15–45 minutes
During this stage, Windows copies files, installs features, and configures settings.
Stage 4: Multiple Restarts
Time:
- 5–15 minutes
Several automatic reboots occur.
Do not power off your computer.
Stage 5: Initial Setup
Time:
- 10–20 minutes
You’ll configure:
- Region
- Language
- Keyboard layout
- Microsoft account
- Privacy settings
Step-by-Step Guide to Install Windows 11
Follow these steps for a successful installation.
Method 1: Upgrade from Windows 10
Step 1
Open:
Settings → Windows Update
Step 2
Check for available updates.
Step 3
Select Windows 11 upgrade.
Step 4
Click Download and Install.
Step 5
Wait for the installation to complete.
Step 6
Restart your computer when prompted.
Method 2: Clean Install Using USB
Step 1
Download the Windows 11 Media Creation Tool from Microsoft’s website.
Step 2
Create a bootable USB drive.
Step 3
Restart the computer.
Step 4
Boot from the USB device.
Step 5
Choose:
- Language
- Time format
- Keyboard layout
Step 6
Click Install Now.
Step 7
Select the installation drive.
Step 8
Complete the setup process.
Common Installation Errors and Fixes
Even though Windows 11 installation is generally smooth, issues can occur.
Error 1: Installation Stuck at 35%, 75%, or 100%
Fix
- Wait at least 1 hour
- Disconnect unnecessary USB devices
- Restart installation if completely frozen
Error 2: PC Doesn’t Meet Requirements
Fix
Verify:
- TPM 2.0 enabled
- Secure Boot enabled
- Supported processor
- Minimum RAM requirements
Error 3: Not Enough Disk Space
Fix
Free up storage before installation.
Recommended free space:
- At least 64GB
Error 4: Windows Update Download Problems
Fix
- Restart Windows Update service
- Clear update cache
- Use Microsoft’s Installation Assistant
Error 5: Installation Keeps Restarting
Fix
- Remove installation USB after first reboot if instructed
- Check boot order in BIOS
- Reset BIOS settings if necessary
Best Practices and Pro Tips
To achieve the fastest and smoothest Windows 11 installation experience, follow these recommendations.
Back Up Important Files
Always create backups before upgrading or performing a clean installation.
Disconnect Unnecessary Devices
Remove:
- External drives
- Printers
- USB accessories
This minimizes hardware conflicts.
Use an SSD
Installing Windows 11 on an SSD significantly reduces installation time and improves performance.
Keep Your Laptop Plugged In
Unexpected power loss can corrupt the installation process.
Disable Unnecessary Startup Programs
Before upgrading from Windows 10, close unnecessary applications and startup services.
Update BIOS and Drivers
Latest firmware updates can improve compatibility and stability.
Optimize Windows After Installation
Once Windows 11 is installed, you may find these guides helpful:
- Learn how to disable a touchscreen device when it’s causing accidental input: https://multicaretechnical.com/how-to-disable-touchscreen-on-windows-11-10-complete-guide
- Improve multitasking by organizing open applications: https://multicaretechnical.com/how-to-cascade-windows-in-windows-11-easy-taskbar-shortcut-guide
- If you also use Apple devices, here’s a guide on managing screen recordings: https://multicaretechnical.com/how-to-stop-screen-recording-on-iphone-12-to-iphone-16-without-swiping-up
Frequently Asked Questions (FAQ)
1. How long does Windows 11 take to install on an SSD?
Most SSD-equipped computers complete the installation in approximately 20 to 40 minutes.
2. Why is Windows 11 taking so long to install?
Slow storage drives, low RAM, outdated hardware, internet issues, and background processes can all increase installation time.
3. Can Windows 11 install in under 30 minutes?
Yes. Modern systems with NVMe SSDs and fast processors often finish within 20–30 minutes.
4. Is it normal for Windows 11 to restart several times during installation?
Yes. Multiple restarts are a normal part of the installation process.
5. What should I do if Windows 11 installation is stuck?
Wait at least one hour before troubleshooting. If there is no disk activity, restart the installation process and check hardware compatibility.
Conclusion
Windows 11 installation usually takes between 20 and 60 minutes, though older systems may require longer. Computers equipped with SSDs, modern processors, and sufficient RAM complete the process much faster than older HDD-based machines.
For most users, a clean installation on an SSD takes around 30 minutes, while upgrades from Windows 10 may take up to 90 minutes depending on system configuration and data migration requirements.
Preparing your PC in advance, backing up important files, disconnecting unnecessary hardware, and ensuring adequate storage space can help make the installation process faster and more reliable.