Introduction
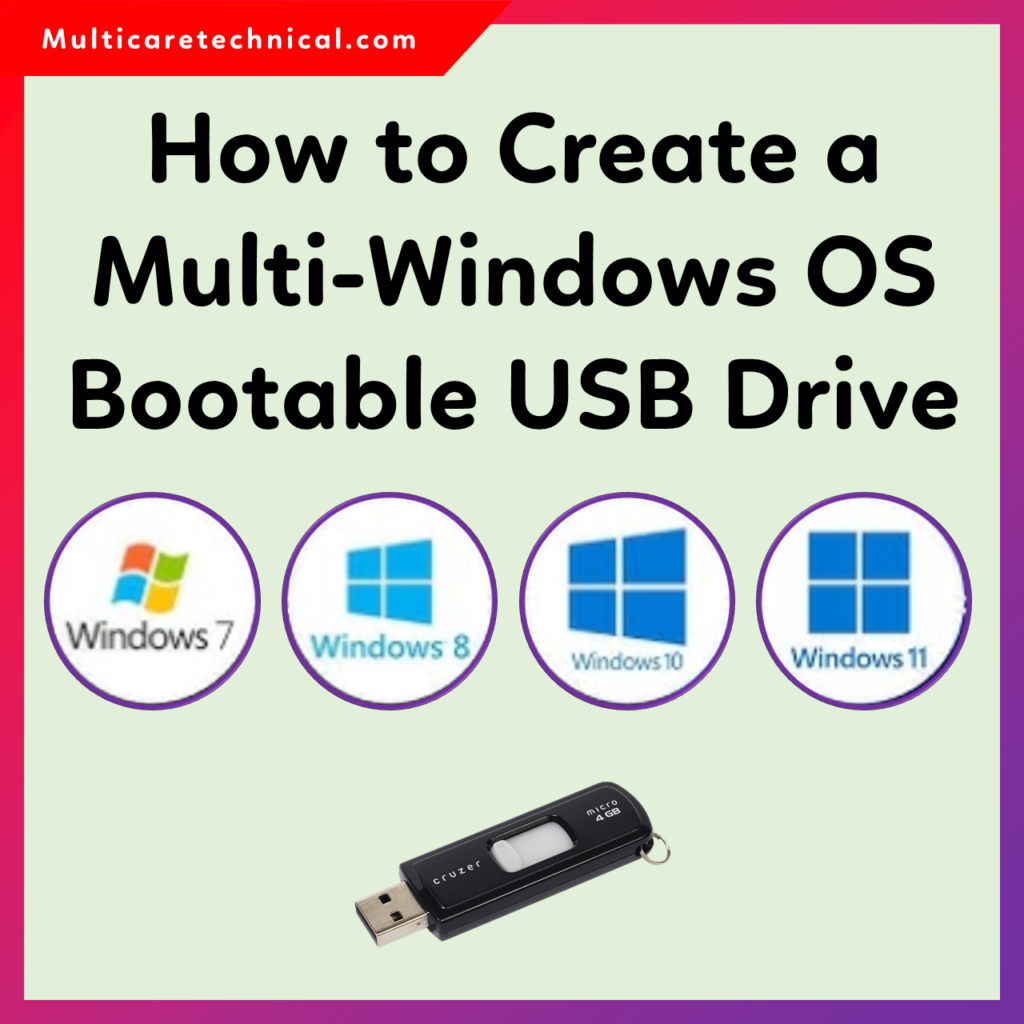
When you work with multiple Windows versions (e.g. Windows 7, 10, 11, 8.1) — for testing, repair, installation, or rescue tasks — carrying separate USB installers becomes tedious. What if you could have one USB drive that can boot multiple Windows installation ISOs? That’s where a multi-boot USB comes in. In this guide, you’ll learn how to create multiple Windows OS bootable USB using Ventoy, understand the benefits, and follow best practices for maximum compatibility.
What is Ventoy & Why Use It?
Ventoy is a free, open-source tool for creating a bootable USB drive that allows multiple ISO/WIM/IMG/VHD(x)/EFI files to coexist. Wikipedia+2ventoy.net+2 Once you install Ventoy on a USB drive, you don’t need to re-format it every time — you just copy the ISO files to the USB and boot from them. Wikipedia+2ventoy.net+2
Key features:
- Supports both BIOS (legacy) and UEFI modes. Wikipedia+2ventoy.net+2
- Allows multiple ISOs on the same USB drive. ventoy.net+3It’s FOSS Community+3Wikipedia+3
- You don’t need to reformat after each addition or change to ISOs. ventoy.net+2It’s FOSS Community+2
- Supports large ISO files (> 4 GB) and many OS types. Wikipedia+2ventoy.net+2
Because of this, Ventoy is ideal for creating a multi-Windows boot USB.
Benefits of a Multi-Windows Bootable USB Setup
Here are the advantages of having a USB that can boot multiple Windows versions:
- Convenience & Space Saving
Instead of carrying 2–3 USB sticks, you maintain a single USB stick, which saves physical space and reduces clutter. - Time Efficiency
You don’t need to repeatedly format and recreate the USB for each version. Just copy or replace ISO files. - Flexibility & Versatility
You can add or remove ISO images later, include utilities or rescue tools, and mix Windows versions as needed. - Cost Saving
No need to buy multiple USB drives; one good-quality USB stick is enough. - Better Organization
You can categorize ISOs in folders, name them clearly, and have a clean structure to choose from at boot. - Updating Isos Easily
If a newer Windows ISO arrives (e.g. feature update), you can delete the old one and place the new one — without reinitializing the USB. - Boot Recovery & Repair Tools
Besides Windows installers, you can also include WinPE, partitioning tools, antivirus rescue ISOs, etc. - Cross-Platform Compatibility
Because Ventoy supports both legacy BIOS and UEFI, your multi-boot USB can boot on a wide variety of systems. - No Data Loss (if done correctly)
After initial Ventoy installation, adding or removing ISO files doesn’t require reformatting. Just back up data before first setup.
Step-by-Step: Create Multi-Windows Bootable USB with Ventoy
Here’s a clear, structured tutorial:
Prerequisites
- A USB drive with sufficient capacity (16 GB, 32 GB, or more is safer, especially if multiple Windows ISOs are large).
- A Windows PC to prepare the USB (or Linux, but this guide focuses on Windows).
- ISO files of the Windows versions you want (Windows 7, 8.1, 10, 11, etc.).
- Download Ventoy (Windows version). Use the direct link:
Download Ventoy: ventoy-1.1.05-windows.zip
Step 1: Extract and Run Ventoy
- Download the ZIP file above and extract it.
- Inside the extracted folder, run Ventoy2Disk.exe (Windows GUI version).
- If UAC (User Account Control) prompts, allow it.
Step 2: Select USB Device & Install
- In the Ventoy GUI, from the device drop-down menu, choose your USB drive.
- Use the Refresh button if the drive is not listed.
- (Optional) You may choose partition style (MBR or GPT) depending on your target systems.
- Click Install. This action erases all data on that USB drive, so ensure backup beforehand.
- After installation, the USB will show a drive labeled “Ventoy” (where you’ll put ISO files).
Step 3: Copy Windows ISO Files
- Open the USB in File Explorer.
- Copy your Windows ISO files (e.g.
Windows10.iso,Windows11.iso, etc.) into the Ventoy partition. - You may organize in folders if wanted, but avoid overly nested paths.
Step 4: Boot from USB and Test
- Insert the USB into a target machine.
- Enter BIOS/UEFI boot menu (often F12, F10, F2, ESC depending on brand).
- Choose to boot from USB. Ventoy’s menu should appear, listing your copied ISOs.
- Select the desired Windows ISO and boot/install as usual.
Troubleshooting Tips & Best Practices
- If the USB doesn’t boot on some machines, try switching between MBR and GPT installation modes.
- On newer systems, disable Secure Boot or ensure Ventoy is installed with UEFI-compatible settings.
- Some ISOs may not boot due to compatibility issues — test them one by one.
- Keep your Ventoy version updated.
- For very large drives, format to exFAT or NTFS if needed.