
Are you experiencing problems with your Windows 11 computer, such as frequent crashes, driver errors, startup issues, or a blue screen of death (BSOD)? Booting Windows 11 in Safe Mode is one of the most useful ways to identify and troubleshoot these problems.
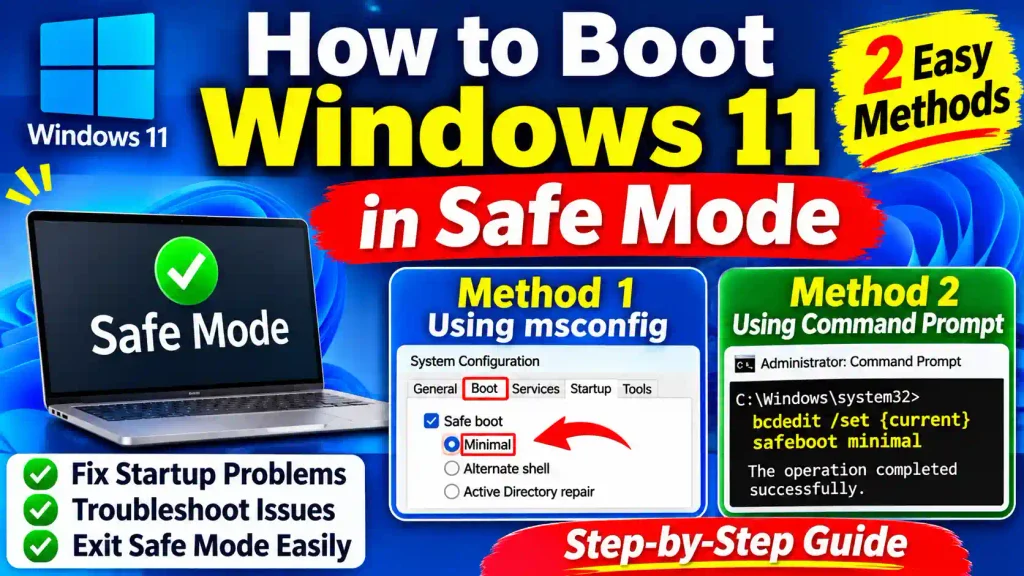
Safe Mode starts Windows with a limited set of drivers, services, and startup applications. This allows you to determine whether a problem is caused by a third-party application, an incompatible driver, or another Windows component.
There are several ways to access Safe Mode in Windows 11. However, in this guide, we will explain only two practical methods: using System Configuration (msconfig) and using Command Prompt.
Both methods are straightforward and do not require additional software. Follow the step-by-step instructions below to start your Windows 11 computer in Safe Mode.
Quick Answer: How to Boot Windows 11 in Safe Mode
You can boot Windows 11 in Safe Mode using either of these two methods:
Method 1: Using System Configuration (msconfig)
- Press Windows + R.
- Type
msconfigand press Enter. - Open the Boot tab.
- Select Safe boot.
- Choose Minimal.
- Click Apply and OK.
- Restart your computer.
Method 2: Using Command Prompt
- Open Command Prompt as Administrator.
- Type
bcdedit /set {current} safeboot minimal. - Press Enter.
- Restart your computer.
Windows 11 will start in Safe Mode after restarting.
Important: After troubleshooting, you must undo the Safe Mode startup setting. Otherwise, Windows may continue booting into Safe Mode every time you restart.
Table of Contents
- What Is Safe Mode in Windows 11?
- Why Should You Start Windows 11 in Safe Mode?
- Method 1: Boot Windows 11 in Safe Mode Using msconfig
- Method 2: Boot Windows 11 in Safe Mode Using Command Prompt
- How to Exit Safe Mode in Windows 11
- Common Errors and Fixes
- Best Practices and Pro Tips
- Frequently Asked Questions
1. What Is Safe Mode in Windows 11?
Safe Mode is a Windows diagnostic startup environment that loads only essential system components and a limited set of drivers and services.
Unlike a normal Windows startup, Safe Mode does not load most third-party applications, unnecessary startup programs, and additional drivers.
This makes it easier to identify software-related problems that may prevent your computer from working correctly.
For example, if your computer frequently freezes during normal startup but works properly in Safe Mode, a recently installed application or driver could be responsible.
Windows 11 provides different Safe Mode configurations:
- Safe Mode (Minimal): Starts Windows with essential drivers and services. This is the standard option for basic troubleshooting.
- Safe Mode with Networking: Includes additional network drivers and services so you can access the internet or network resources when supported.
For most troubleshooting tasks, Minimal is sufficient.
2. Why Should You Start Windows 11 in Safe Mode?
Starting Windows 11 in Safe Mode can help you troubleshoot several common computer problems.
Here are some situations where Safe Mode is useful:
- Windows 11 freezes during startup.
- Your computer displays a blue screen error.
- A recently installed driver causes system instability.
- Third-party software prevents Windows from starting normally.
- Unwanted startup applications cause performance problems.
- You need to uninstall problematic software.
- You want to investigate Windows crashes.
Safe Mode is particularly useful when normal Windows startup is unstable.
For example, if you are experiencing the Page Fault in Nonpaged Area blue screen error, you can use Safe Mode to investigate recently installed drivers and software.
You can also read our detailed guide on How to Fix Page Fault in Nonpaged Area in Windows 11.
3. Method 1: Boot Windows 11 in Safe Mode Using System Configuration (msconfig)
The first method uses the built-in System Configuration utility, commonly known as msconfig.
This is one of the easiest ways to enable Safe Mode when you can access your Windows desktop.
Follow these steps carefully.
Step 1: Open the Run Dialog Box
First, press the Windows + R keyboard shortcut.
The Run dialog box will appear on your screen.
Step 2: Open System Configuration
Type the following command in the Run box:
msconfig
Click OK or press Enter.
<Add Screenshot: Run dialog box showing msconfig command>
Step 3: Open the Boot Tab
After executing the command, the System Configuration window will appear.
You will see several tabs, including:
- General
- Boot
- Services
- Startup
- Tools
Click the Boot tab.
<Add Screenshot: System Configuration window with Boot tab selected>
Step 4: Enable Safe Boot
Under Boot options, find the checkbox labeled Safe boot.
Select this checkbox.
You will see different Safe boot options:
- Minimal
- Alternate shell
- Active Directory repair
- Network
For standard Windows 11 troubleshooting, select Minimal.
If you need internet or network access while troubleshooting, select Network instead.
<Add Screenshot: Safe boot checkbox with Minimal option selected>
Step 5: Apply the Changes
After selecting Minimal:
- Click Apply.
- Click OK.
A confirmation message may appear asking whether you want to restart your computer immediately or exit without restarting.
Step 6: Restart Your Computer
Select Restart to reboot Windows 11.
Your computer will now start in Safe Mode.
You should notice that Windows loads with a simplified desktop and limited functionality. The words Safe Mode may also appear in the corners of your screen.
<Add Screenshot: Windows 11 desktop running in Safe Mode>
That’s it! You have successfully started Windows 11 in Safe Mode using System Configuration.
4. Method 2: Boot Windows 11 in Safe Mode Using Command Prompt
The second method uses Command Prompt and the built-in Windows Boot Configuration Data (BCD) tool.
This method is useful for IT professionals and users who prefer command-line troubleshooting.
You must run Command Prompt with administrator privileges.
Step 1: Open Command Prompt as Administrator
Click the Start button.
Type:
cmd
Find Command Prompt in the search results.
Right-click it and select Run as administrator.
If Windows displays a User Account Control (UAC) prompt, click Yes.
<Add Screenshot: Command Prompt with Run as administrator option>
Step 2: Enter the Safe Mode Command
In the Administrator Command Prompt window, type the following command:
bcdedit /set {current} safeboot minimal
Press Enter.
This command modifies the Windows boot configuration to start the currently running Windows installation in Safe Mode.
If the operation is successful, you should see the following confirmation:
The operation completed successfully.
<Add Screenshot: BCDEdit command showing successful execution>
Step 3: Restart Windows 11
After executing the command successfully, close Command Prompt.
Click Start > Power > Restart.
Windows 11 will restart and automatically boot into Safe Mode.
You can now investigate driver problems, remove problematic applications, and perform other troubleshooting tasks.
Optional: Enable Safe Mode with Networking
If you need internet access while working in Safe Mode, use the following command instead:
bcdedit /set {current} safeboot network
This enables Safe Mode with Networking.
Use this command instead of the Minimal command when configuring your startup mode.
Important: Do not execute both commands unnecessarily. Choose the startup configuration you need.
5. How to Exit Safe Mode in Windows 11
After completing your troubleshooting, you should return Windows 11 to normal startup.
This is particularly important because both methods above enable a persistent Safe Mode startup setting.
Exit Safe Mode Using msconfig
If you enabled Safe Mode through System Configuration, follow these steps:
- Press Windows + R.
- Type
msconfigand press Enter. - Open the Boot tab.
- Uncheck the Safe boot option.
- Click Apply.
- Click OK.
- Restart your computer.
Windows 11 should now start normally.
Exit Safe Mode Using Command Prompt
If you enabled Safe Mode using Command Prompt, open Administrator Command Prompt and execute:
bcdedit /deletevalue {current} safeboot
Press Enter.
You should receive a message confirming that the operation completed successfully.
Restart your computer.
Windows 11 should now boot into normal mode.
Pro Tip: If you use Command Prompt to enable Safe Mode, use the corresponding Command Prompt command to remove the setting afterward.
6. Common Errors and Fixes
Sometimes users encounter problems while enabling or exiting Safe Mode.
Here are a few common issues and their solutions.
Error 1: Windows Keeps Starting in Safe Mode
Reason: The Safe boot option may still be enabled in System Configuration or the BCD startup configuration.
Solution: Open msconfig, select the Boot tab, and uncheck Safe boot. Alternatively, run the following command in Administrator Command Prompt:
bcdedit /deletevalue {current} safeboot
Restart your computer.
Error 2: Access Is Denied in Command Prompt
Reason: Command Prompt was not opened with administrator privileges.
Solution: Close Command Prompt, search for cmd, right-click it, and select Run as administrator.
Execute the command again.
Error 3: The Computer Cannot Connect to the Internet in Safe Mode
Reason: You selected Minimal instead of Safe Mode with Networking.
Solution: Exit Safe Mode, open an Administrator Command Prompt, and execute:
bcdedit /set {current} safeboot network
Restart your computer.
Remember that networking availability can depend on compatible drivers and network configuration.
Error 4: Safe Mode Does Not Solve the Problem
Reason: The problem may be related to Windows system files, hardware, or essential drivers rather than a third-party application.
Solution: Use additional diagnostic tools such as Windows System File Checker, DISM, and Windows Memory Diagnostic.
Avoid deleting system files or changing boot settings unless you understand their purpose.
7. Best Practices and Pro Tips
Before enabling Safe Mode in Windows 11, keep the following recommendations in mind.
1. Save Your Important Work
Save open documents and close running applications before restarting your computer.
2. Start with Minimal
For most troubleshooting situations, Minimal is the recommended Safe Mode configuration.
3. Use Networking Only When Necessary
Choose Safe Mode with Networking if you need to download drivers, access network resources, or perform online troubleshooting.
4. Remember to Disable Safe Boot
Always remove the Safe Mode startup setting after completing your work.
5. Avoid Unnecessary Driver Changes
Do not uninstall essential Windows drivers unless you have identified a specific problem.
6. Create a Backup Before Major Changes
Back up important documents and files before making significant system changes.
7. Test Windows After Restarting
After exiting Safe Mode, restart your computer and confirm that Windows loads normally.
If your troubleshooting involves network equipment rather than Windows startup, you may also find our guide on How to Configure TP-Link Extender helpful.
For users interested in Apple Messages settings, see our separate guide on How to Turn Off AI Suggestions on iMessage.
Conclusion
Booting Windows 11 in Safe Mode is a useful troubleshooting technique when your computer experiences startup problems, crashes, driver conflicts, or application errors.
In this guide, we explained two simple methods: using System Configuration (msconfig) and using Command Prompt.
Both methods allow you to enable Safe Mode without installing additional software.
If you prefer a graphical interface, use msconfig. If you are comfortable working with command-line tools, Command Prompt is another effective option.
Most importantly, remember to disable the Safe boot setting after completing your troubleshooting so Windows 11 can return to normal startup.
Following these instructions will help you diagnose common Windows problems more effectively.
Frequently Asked Questions (FAQs)
1. How do I boot Windows 11 in Safe Mode?
You can boot Windows 11 in Safe Mode using System Configuration or Command Prompt. Open msconfig, select the Boot tab, enable Safe boot, and choose Minimal. Alternatively, run bcdedit /set {current} safeboot minimal in Administrator Command Prompt and restart your computer.
2. What is the msconfig command in Windows 11?
The msconfig command opens the System Configuration utility in Windows 11. It allows users to manage startup settings, boot options, services, and other system configuration options. You can use its Boot tab to enable or disable Safe Mode.
3. How do I start Windows 11 in Safe Mode with Networking using CMD?
Open Command Prompt as Administrator and execute bcdedit /set {current} safeboot network. Press Enter and restart your computer. Windows 11 will attempt to start in Safe Mode with Networking.
4. How do I exit Safe Mode in Windows 11?
Open System Configuration by pressing Windows + R and entering msconfig. Select the Boot tab, uncheck Safe boot, and restart your computer. If you enabled Safe Mode using CMD, run bcdedit /deletevalue {current} safeboot in Administrator Command Prompt.
5. Why does Windows 11 keep booting into Safe Mode?
Windows 11 may continue starting in Safe Mode because the Safe boot option remains enabled in System Configuration or the boot configuration data. Disable Safe boot in msconfig or remove the setting using the BCDEdit command, then restart your computer.