Introduction
Setting up Unifi Innerspace, an advanced networking solution by Ubiquiti Networks, can seem like a complex task at first, but with the right guidance, it can be a smooth and straightforward process. In this step-by-step guide, we will walk you through the Unifi Innerspace setup, from acquiring the necessary hardware to configuring your network for optimal performance.
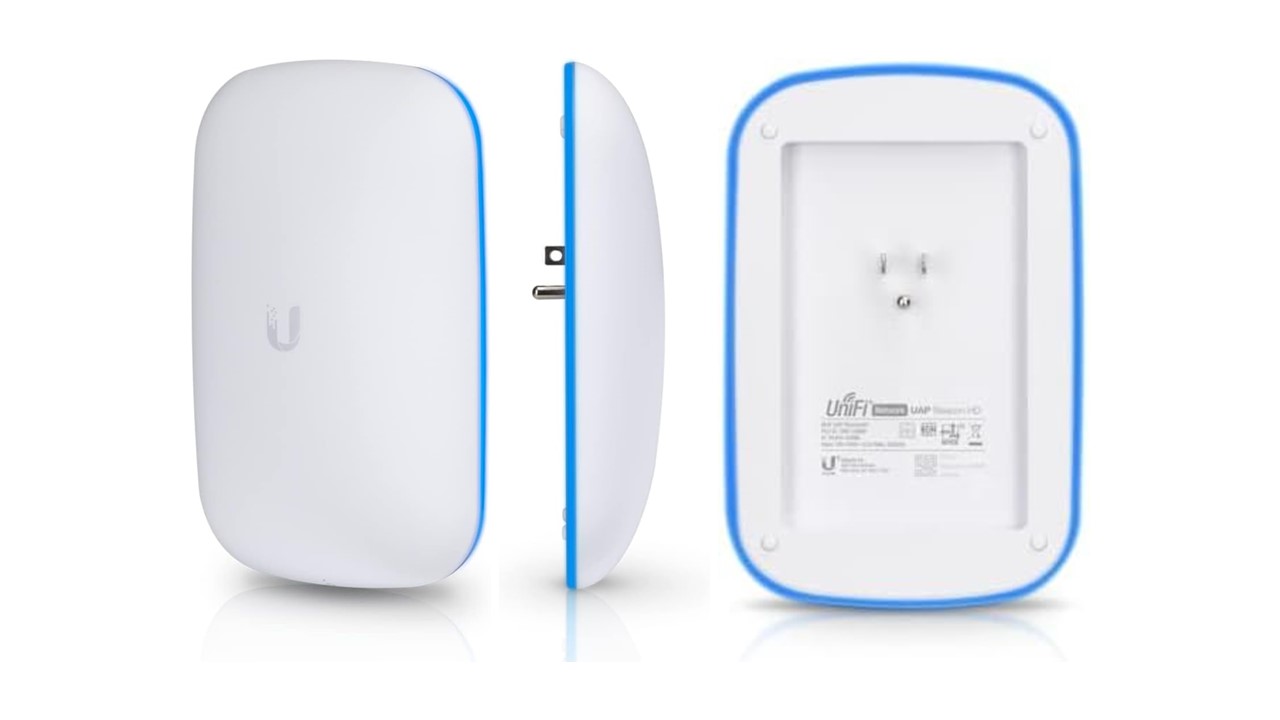
Note: Before you begin, ensure that you have all the required Unifi hardware components, including Unifi Access Points, Unifi Switches, and a Unifi Security Gateway.
Step 1: Install Unifi Controller
- Download the Unifi Controller Software:
- Visit the Ubiquiti Networks website (https://www.ui.com/download/unifi).
- Download the Unifi Controller software suitable for your operating system (Windows, macOS, or Linux).
- Install Unifi Controller:
- Run the downloaded installer and follow the on-screen instructions to complete the installation.
Step 2: Connect and Power On Your Devices
- Connect Unifi Devices:
- Physically connect your Unifi Access Points and Unifi Switches to your network using Ethernet cables. Ensure that the devices are properly powered on.
- Connect Unifi Security Gateway:
- Connect the Unifi Security Gateway to your network and power it on.
Step 3: Adopt Devices in Unifi Controller
- Launch Unifi Controller:
- Open the Unifi Controller software on your computer.
- Set Up a New Site:
- When prompted, create a new site for your network, and give it a unique name. This site will serve as the central hub for managing your Unifi devices.
- Adopt Devices:
- In the Unifi Controller dashboard, go to the “Devices” tab.
- You should see your Unifi Access Points, Unifi Switches, and Unifi Security Gateway listed as “Pending Adoption.”
- Click on each device and follow the on-screen instructions to adopt them into your network. You may need to enter the device’s username and password if required.
Step 4: Configure Network Settings
- Create Wireless Networks:
- Under the “Settings” tab, select “Wireless Networks.”
- Click on “Create New Wireless Network” to set up your Wi-Fi networks. Customize settings such as SSID, security, and guest access as needed.
- Configure Switch and Security Gateway Settings:
- Under the “Settings” tab, configure your Unifi Switches and Unifi Security Gateway settings to meet your network requirements, including VLANs and firewall rules.
- Set Up VLANs (if needed):
- If you require VLANs, navigate to the “Settings” tab and select “Networks.”
- Click on “Create New Network” and configure your VLANs with the desired settings.
- Create Guest Networks (if needed):
- If you want to provide guest access, go to the “Settings” tab, select “Guest Control,” and configure guest network settings.
Step 5: Monitor and Optimize
- Dashboard:
- Use the Unifi Controller dashboard to monitor the performance of your network. You can access real-time data, such as client connections and bandwidth usage.
- Analytics:
- Analyze network analytics and reports to identify any performance issues and optimize your network accordingly.
Conclusion
Setting up Unifi Innerspace may seem daunting, but with this step-by-step guide, you can easily deploy a high-performance network that meets your specific needs. The Unifi Controller software is your central hub for managing Unifi devices, and it offers a range of features and tools to ensure your network runs smoothly and securely. By following these steps, you’ll have your Unifi Innerspace setup up and running in no time, providing you with reliable and efficient connectivity.