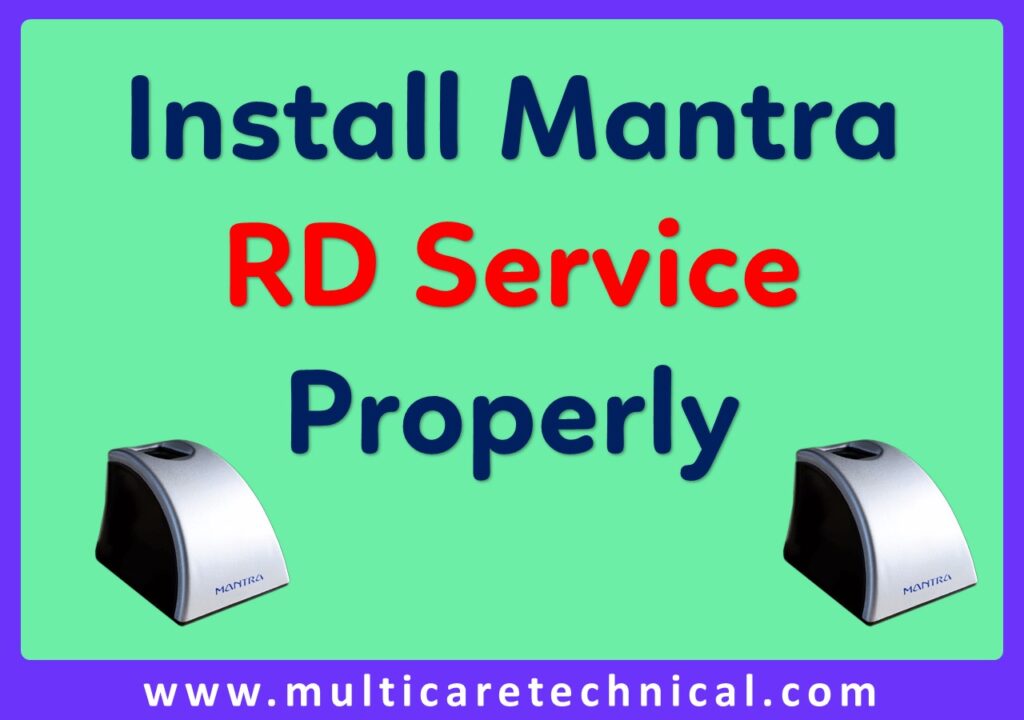
Introduction:
Mantra RD Service is a crucial component for secure and efficient biometric authentication. Whether you’re setting up a new device or troubleshooting an existing installation, getting the installation right is key. In this guide, we’ll walk you through the step-by-step process of installing Mantra RD Service properly.
Step 1: Download the Latest Mantra RD Service Software
To kick things off, head over to the official Mantra website and locate the downloads section. Look for the latest version of the Mantra RD Service software compatible with your operating system. Download the installer and save it to a location where you can easily access it.
Direct Lik to download: Download
Step 2: Run the Installer
Once the download is complete, navigate to the location where the installer is saved. Simply give the installer file a double-click to kick off the installation process. If prompted, grant the necessary permissions to the installer to proceed.
Step 3: Follow On-Screen Instructions
Follow the on-screen instructions provided by the installer as it guides you through the installation process. Make sure to read each prompt carefully and select the appropriate options. Typically, you will be asked to agree to the terms and conditions, choose the installation directory, and configure any additional settings.
Step 4: Connect the Mantra RD Device
After the software installation is complete, it’s time to connect your Mantra RD device to the computer. Make sure to use the USB cable provided to establish a connection. Ensure that the device is properly connected and recognized by your system.
Step 5: Check Device Manager (For Windows Users)
For Windows users, it’s a good practice to check the Device Manager to ensure that the Mantra RD device is listed without any issues. Navigate to the Device Manager, locate the biometric devices section, and verify that the Mantra RD device is displayed without any error symbols.
Step 6: Test the RD Service
To confirm that the installation was successful, it’s recommended to perform a quick test. Open the Mantra RD Service application and check for any error messages. If everything is in order, you should be able to use your biometric device seamlessly for authentication purposes.
Step 7: Troubleshooting (If Needed)
In case you encounter any issues during the installation or testing phase, refer to the troubleshooting section in the Mantra RD Service documentation. Common issues and their solutions are often provided to help you overcome any challenges.

MANTRA L0 Fingerprint Scanner
High-speed biometric authentication for Aadhaar, banking, and attendance systems.
*Affiliate Link – Supports our blog at no extra cost to you!
Mantra L1 device driver download – Direct Download link
If you’re looking for the Mantra L1 Driver, you’ve come to the right place. The Mantra L1 is a popular fingerprint scanner used for biometric authentication in various applications, including Aadhaar enrollment, attendance systems, and more. To ensure smooth functionality, you need to install the correct device driver and RD Service software.
Direct Download Link for Mantra L1 Driver
You can easily download the Mantra L1 driver and RD Service from the following link:
🔗 Download Mantra L1 Driver & RD Service
This ZIP file contains:
- Mantra L1 Device Driver – Ensures proper communication between the fingerprint scanner and your computer.
- RD Service – Required for Aadhaar-based authentication and other biometric services.
Key Features of Mantra L1 Driver & RD Service
✅ Plug-and-Play Support – Easy installation with automatic detection.
✅ Compatibility – Works with Windows 7, 8, 10, and 11 (32-bit & 64-bit).
✅ Aadhaar Authentication – Enables seamless integration with UIDAI applications.
✅ Fast & Secure Scanning – High-speed fingerprint recognition with encryption support.
✅ Lightweight Software – Minimal system resource usage.
How to Install Mantra L1 Driver?
- Download the ZIP file from the link above.
- Extract the contents to a folder.
- Run the setup file one by one and follow the on-screen instructions.
- Connect your Mantra L1 device and let the driver install automatically.
- Restart your computer if required.
Why Choose This Download Link?
✔ 100% Safe & Virus-Free
✔ Direct Download (No Ads or Redirects)
✔ Includes Both Driver & RD Service

MANTRA L1 Fingerprint Scanner
High-speed biometric authentication for Aadhaar, banking, and attendance systems.
*Affiliate Link – Supports our blog at no extra cost to you!
Conclusion:
Installing Mantra RD Service doesn’t have to be a daunting task. By following these step-by-step instructions, you’ll be able to set up your biometric authentication system smoothly. Remember to refer to the official documentation and support resources for additional assistance if needed. With the proper installation, you can ensure the security and reliability of your Mantra RD Service.