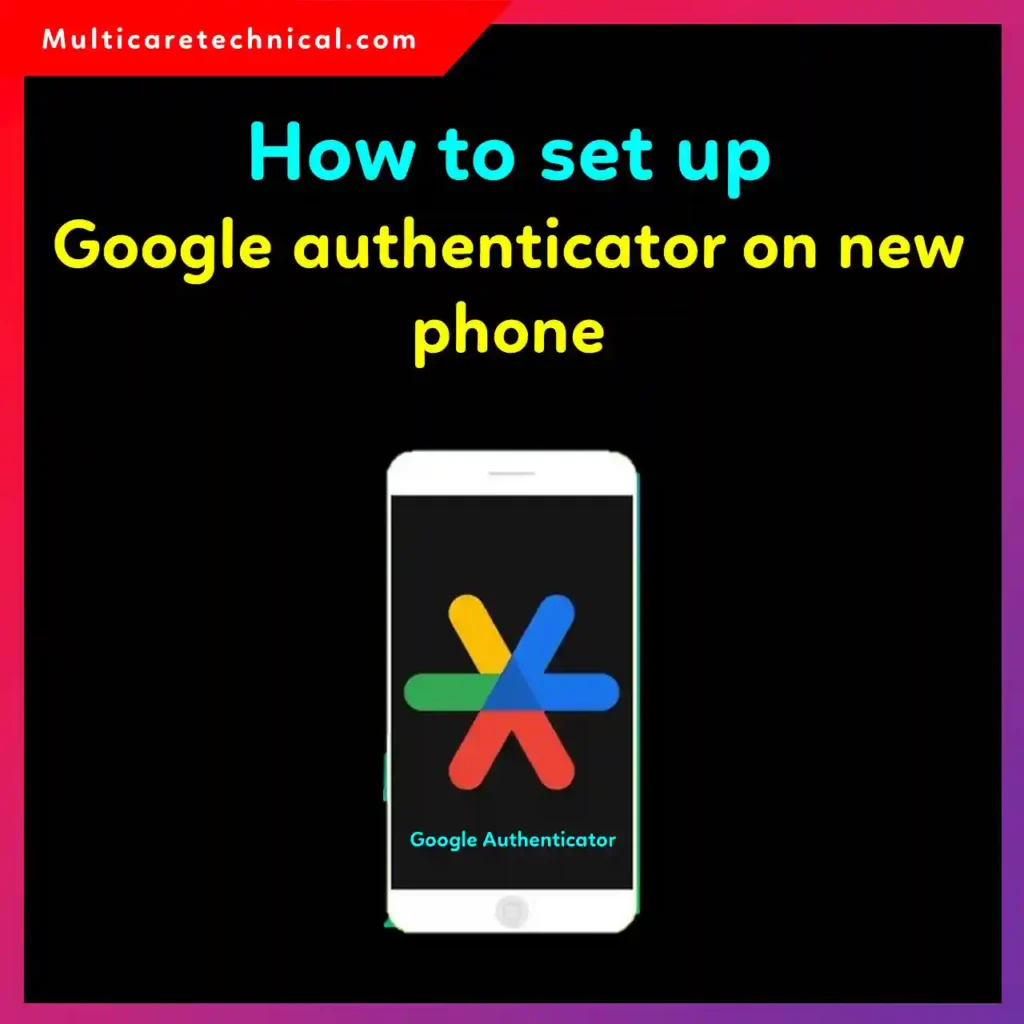
Introduction
Switching to a new phone is exciting, but many users forget one important task: transferring their two-factor authentication (2FA) apps. If you use Google Authenticator to protect your accounts, moving it correctly is essential to avoid getting locked out of email, banking apps, social media accounts, or work systems.
Google Authenticator adds an extra layer of security by generating time-based verification codes. When you upgrade your device, you need to transfer these codes safely to your new phone.
The good news is that Google has made the process much easier in recent years. Whether you use Android or iPhone, this guide explains exactly how to set up Google Authenticator on a new phone step by step.
Quick Answer
To set up Google Authenticator on a new phone:
- Install the Google Authenticator app on the new phone.
- Open Google Authenticator on your old phone.
- Tap the three-dot menu and select Transfer accounts.
- Choose Export accounts.
- Scan the QR code using the new phone.
- Verify the transferred accounts work correctly.
If you no longer have the old phone, use backup codes or account recovery options to reconnect your accounts manually.
Table of Contents
- What Is Google Authenticator?
- Why Transfer Google Authenticator Carefully?
- How to Set Up Google Authenticator on a New Phone
- How to Transfer Accounts Using QR Codes
- What to Do If You Lost Your Old Phone
- How to Verify Your Accounts
- Common Errors and Fixes
- Best Practices and Security Tips
- Conclusion
- FAQs
- FAQ Schema
What Is Google Authenticator?
Google Authenticator is a free authentication app that generates temporary security codes for two-factor authentication.
Instead of relying only on passwords, Google Authenticator requires:
- Your password
- A temporary verification code
This makes your accounts much harder for hackers to access.
The app is commonly used with:
- Google accounts
- Microsoft accounts
- Cryptocurrency wallets
- Banking apps
- Cloud services
- IT administration platforms
Why Transfer Google Authenticator Carefully?
When you move to a new phone, your authentication codes do not automatically transfer like normal apps or photos.
If you delete the old phone or reset it before transferring Google Authenticator, you could lose access to important accounts.
Proper transfer helps:
- Prevent account lockouts
- Maintain secure access
- Avoid lengthy recovery processes
- Keep business and personal accounts protected
This is especially important for IT professionals managing multiple secure systems.
How to Set Up Google Authenticator on a New Phone


6
Step 1: Install Google Authenticator on the New Phone
Download the app from:
- Google Play Store (Android)
- Apple App Store (iPhone)
After installation, open the app.
Step 2: Open Google Authenticator on the Old Phone
On your old device:
- Open Google Authenticator
- Tap the three-dot menu in the top-right corner
- Select Transfer accounts
Step 3: Export Accounts
Tap:
Export accounts
You may need to verify your identity using:
- Fingerprint
- Face unlock
- PIN
- Password
Select the accounts you want to move.
A QR code will appear on the screen.
Step 4: Import Accounts on the New Phone
On the new phone:
- Open Google Authenticator
- Tap Get Started
- Choose Import existing accounts
- Scan the QR code displayed on the old phone
The accounts will instantly transfer.
Step 5: Verify the Codes
Open each account and verify that:
- The codes refresh properly
- Login verification works correctly
Do not erase the old phone until everything is confirmed.
How to Transfer Accounts Using QR Codes


6
Google Authenticator now supports secure QR-based migration.
This is the easiest and safest method because:
- No cloud syncing is required
- Data stays local
- Transfers are encrypted visually via QR code
Some older versions of the app may not support account transfer. In that case, update the app before starting.
What to Do If You Lost Your Old Phone
Losing access to your old phone can make recovery more difficult, but there are still options.
Option 1: Use Backup Codes
Many services provide backup codes during 2FA setup.
These codes allow login without Google Authenticator.
Option 2: Use Account Recovery
Most platforms offer recovery methods such as:
- Recovery email
- SMS verification
- Identity verification
- Support tickets
Option 3: Reconfigure 2FA
After regaining access:
- Disable two-factor authentication temporarily
- Re-enable it on the new phone
- Scan the new QR code
How to Verify Your Accounts
After the transfer, test your accounts carefully.
Recommended Testing Process
- Sign into one account
- Enter the authentication code
- Confirm successful login
- Repeat for all important accounts
Only remove the app from the old phone after testing everything.
Common Errors and Fixes
1. QR Code Not Scanning
Cause
Camera permissions may be disabled.
Fix
Enable camera access for Google Authenticator in phone settings.
2. Codes Not Working
Cause
Incorrect device time settings.
Fix
Enable:
Automatic date and time
Authenticator codes depend on accurate device clocks.
3. Missing Accounts After Transfer
Cause
Not all accounts were selected during export.
Fix
Repeat the export process and select all desired accounts.
4. Lost Access to Both Phones
Cause
No backup method available.
Fix
Use account recovery tools provided by each service.
5. Duplicate Accounts Showing
Cause
Accounts imported multiple times.
Fix
Delete duplicate entries manually.
Best Practices and Security Tips
Keep Backup Codes in a Safe Place
Store backup codes securely:
- Password manager
- Encrypted USB drive
- Printed secure copy
Do Not Reset Your Old Phone Immediately
Always confirm that:
- Transfers completed successfully
- Codes work properly
- All accounts are accessible
Use Strong Device Security
Protect your phone using:
- Face ID
- Fingerprint unlock
- Strong PIN
- Device encryption
Update Your Apps Regularly
Security updates help prevent vulnerabilities and bugs.
For improved Windows performance while managing secure apps and workflows, you can also read:
windows 11 low latency profile complete guide to reduce lag and improve performance
Consider Cloud Backup Alternatives
Some authentication apps support encrypted cloud sync.
However, many IT professionals prefer Google Authenticator because it stores codes locally for stronger privacy.
Secure Family Devices Properly
If children or family members use shared devices, setting up proper controls is important:
how to set up parental controls on iphone
Stay Organized During Device Migration
When upgrading devices, it also helps to manage work communication tools correctly:
how to set out of office in new outlook
Conclusion
Setting up Google Authenticator on a new phone is an important step when upgrading devices or improving account security. Thankfully, Google now provides a straightforward QR-code transfer method that works on both Android and iPhone.
The most important rule is simple: never erase your old phone until you confirm all authentication codes work on the new device.
By following the steps, troubleshooting advice, and security tips in this guide, you can safely transfer your two-factor authentication accounts without losing access to important services.
FAQs
1. Can I use Google Authenticator on two phones at the same time?
Yes. During setup, you can scan the same QR code on multiple devices before finishing the configuration.
2. What happens if I lose my old phone before transferring Google Authenticator?
You must use backup codes or account recovery options to regain access and reconnect your accounts.
3. Does Google Authenticator automatically sync to a new phone?
No. You must manually transfer accounts unless cloud backup features are enabled.
4. Why are my Google Authenticator codes not working?
Incorrect device time settings are the most common cause. Enable automatic time synchronization.
5. Is Google Authenticator safer than SMS verification?
Yes. App-based authentication is generally more secure than SMS because it is less vulnerable to SIM-swapping attacks.