
Have you ever opened a folder in Windows and discovered that some files or folders are missing? They may not have been deleted. Windows allows certain files and folders to remain hidden so users do not accidentally modify important system data.
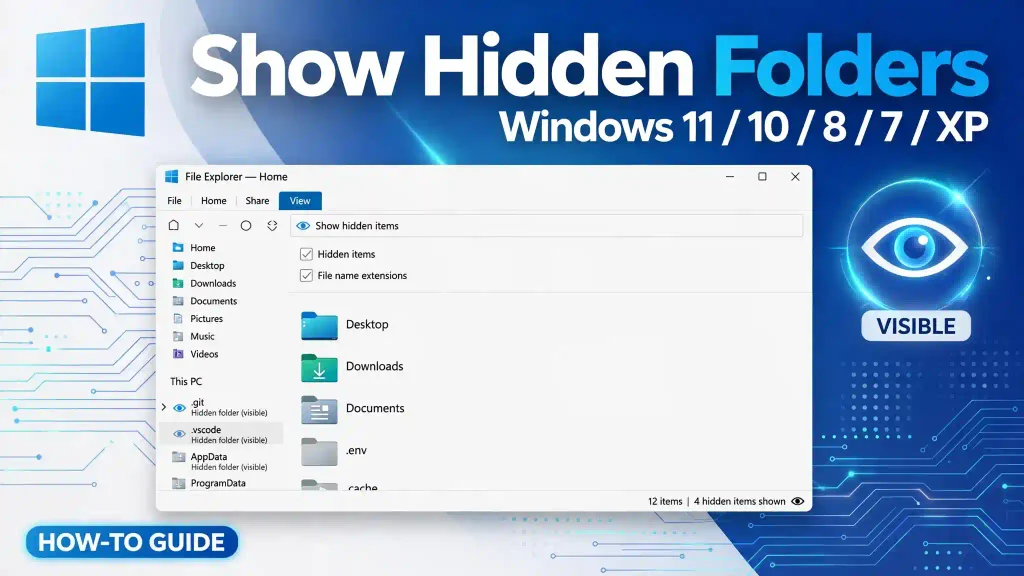
Hidden folders can also contain application settings, personal documents, configuration files, and other information. If you need to troubleshoot a Windows problem, recover access to a folder, or locate files saved by an application, learning how to show hidden folders can be extremely useful.
Fortunately, you can display hidden folders in just a few steps. The process differs slightly between Windows 11, Windows 10, Windows 8, Windows 7, and older versions such as Windows XP.
In this guide, you will learn how to show hidden folders in different Windows versions, display protected operating system files when necessary, use Command Prompt, and fix common problems that prevent hidden folders from appearing.
Quick Answer: How to Show Hidden Folders in Windows
To show hidden folders in Windows 11 or Windows 10:
- Open File Explorer by pressing Windows + E.
- In Windows 11, select View > Show > Hidden items. In Windows 10, open the View tab and check Hidden items.
- Hidden files and folders should now appear in their original locations.
For Windows 8, 7, and XP, open Folder Options and enable the option to show hidden files, folders, and drives. The exact menu names vary by version.
Important: Showing hidden items does not automatically display every protected Windows operating system file. That requires a separate setting.
Table of Contents
- What Are Hidden Folders in Windows?
- How to Show Hidden Folders in Windows 11
- How to Show Hidden Folders in Windows 10
- How to Show Hidden Folders in Windows 8 and 8.1
- How to Show Hidden Folders in Windows 7
- How to Show Hidden Folders in Windows XP
- How to Show Protected Operating System Files
- How to Show Hidden Folders Using Command Prompt
- Common Errors and Fixes
- Best Practices and Pro Tips
- Frequently Asked Questions
What Are Hidden Folders in Windows?
A hidden folder is a folder marked with the Hidden attribute. Windows can omit these folders from normal File Explorer views to reduce clutter and help prevent accidental changes.
For example, you might need to access a hidden folder to troubleshoot an application, inspect configuration files, or locate data saved inside your Windows user profile.
Common examples include:
- AppData: Stores application settings and other user-specific data.
- ProgramData: Stores shared application data for programs installed on the computer.
- System Volume Information: Contains system-managed information associated with a drive.
- Desktop.ini: A hidden system file used to store certain folder customization settings.
Not every hidden folder is a system folder. You can also hide personal folders manually, and some applications create hidden folders automatically.
Remember that hidden does not mean encrypted or password-protected. A hidden folder can still be accessible to users who have the necessary permissions.
1. How to Show Hidden Folders in Windows 11
Windows 11 provides a quick option for displaying hidden files and folders directly in File Explorer.
Method 1: Use the File Explorer View Menu
Follow these steps:
- Press Windows + E to open File Explorer.
- Navigate to the folder or drive you want to inspect.
- Click View on the toolbar.
- Select Show from the menu.
- Click Hidden items to enable the option.
File Explorer should now display hidden folders and files. Depending on your Windows configuration, hidden items may appear slightly faded compared with ordinary files.
Method 2: Use Folder Options
You can also change the hidden-file setting through Folder Options.
- Open File Explorer.
- Click the three-dot menu on the toolbar.
- Select Options.
- Open the View tab in the Folder Options window.
- Under Advanced settings, find Hidden files and folders.
- Select Show hidden files, folders, and drives.
- Click Apply, then OK.
This setting is useful when you want to manage hidden items through a more traditional Windows interface.
2. How to Show Hidden Folders in Windows 10
Windows 10 offers a similar setting through the File Explorer ribbon.
Steps to Display Hidden Items
- Press Windows + E to launch File Explorer.
- Open the drive or directory you want to check.
- Click the View tab at the top.
- Find the Hidden items checkbox in the Show/hide section.
- Check the box.
Windows 10 will now display hidden folders and files in the selected location and other locations viewed through File Explorer.
Alternative: Change Folder Options
If the checkbox is unavailable or you prefer the classic method:
- Open File Explorer.
- Select the View tab.
- Click Options, then choose Change folder and search options if that option is displayed.
- Select the View tab in the Folder Options window.
- Choose Show hidden files, folders, and drives.
- Click Apply and OK.
If you are troubleshooting Windows 10 performance or considering an upgrade, you may also find this guide useful: Windows 10 vs. Windows 11 Reliability: Which Is More Reliable in 2026?.
3. How to Show Hidden Folders in Windows 8 and 8.1
Windows 8 and Windows 8.1 include a ribbon interface in File Explorer, making it relatively easy to change hidden-file visibility.
Steps
- Open File Explorer using Windows + E.
- Select the View tab on the ribbon.
- Locate the Show/hide section.
- Check Hidden items.
Hidden folders should now appear in File Explorer.
Alternative Method Using Folder Options
If you cannot find the Hidden items checkbox, use Folder Options:
- Open Control Panel.
- Select Appearance and Personalization.
- Open Folder Options.
- Click the View tab.
- Under Advanced settings, select Show hidden files, folders, and drives.
- Click Apply, then OK.
The same general Folder Options approach works across many older Windows versions, although menu names may differ.
4. How to Show Hidden Folders in Windows 7
Windows 7 does not use the same File Explorer ribbon as Windows 8 and later. You must enable hidden items through Folder Options.
Step-by-Step Instructions
- Click the Start button.
- Open Control Panel.
- Select Appearance and Personalization.
- Click Folder Options.
- Open the View tab.
- Find the Hidden files and folders section.
- Select Show hidden files, folders, and drives.
- Click Apply, then OK.
You can now browse to the folder that contains the hidden items.
Open Folder Options Directly
Another approach is to open the Start menu, search for Folder Options, and select the matching result.
If your Windows 7 computer has customized menus, the available route may look slightly different. The important setting is the option to show hidden files, folders, and drives.
Windows 7 is no longer supported by Microsoft under its standard support lifecycle. If you still use it, avoid exposing the computer to unnecessary security risks, especially when connected to the internet.
5. How to Show Hidden Folders in Windows XP
Windows XP uses a classic Windows Explorer interface. You can show hidden folders through the Tools menu.
Step-by-Step Instructions
- Open My Computer or Windows Explorer.
- Click Tools on the menu bar.
- Select Folder Options.
- Open the View tab.
- Find Hidden files and folders under Advanced settings.
- Select Show hidden files and folders.
- Click Apply, then OK.
Browse to the location where the hidden folder is stored. If the folder is marked hidden and you have permission to access it, it should now be visible.
What If the Tools Menu Is Missing?
If the menu bar is not visible, press Alt to reveal it in many classic Windows Explorer configurations. You can then select Tools and continue with the steps above.
Windows XP is obsolete and no longer receives normal security updates. Use it only when necessary, preferably in an isolated environment rather than for everyday internet access.
6. How to Show Protected Operating System Files
Enabling Hidden items does not necessarily reveal every system file. Windows has a separate setting for protected operating system files.
This option can expose important files that should normally remain hidden. Change it only when you have a specific troubleshooting requirement.
Steps to Display Protected Files
- Open File Explorer.
- Open Folder Options. In Windows 11, select the three-dot menu and then Options.
- Click the View tab.
- Under Advanced settings, locate Hide protected operating system files (Recommended).
- Clear the checkbox.
- Read the warning and confirm only if you understand the risk.
- Click Apply and OK.
Protected system files may now appear alongside other items.
Security recommendation: Re-enable the option as soon as you finish troubleshooting. Do not delete, rename, or move unfamiliar Windows system files simply because they are visible.
For general Windows troubleshooting, it is safer to begin with ordinary hidden items and reveal protected files only when required.
7. How to Show Hidden Folders Using Command Prompt
If File Explorer settings do not work, Command Prompt provides another way to inspect and change folder attributes.
Use this method carefully. The commands below change attributes on the specified path, so verify the location before running them.
Step 1: Open Command Prompt
- Press Windows + R.
- Type
cmd. - Press Enter.
Step 2: Navigate to the Folder
For example, to open the contents of a folder on drive C, type:
cd /d C:\ExampleReplace C:\Example with the actual folder path you want to inspect.
Step 3: Display Hidden Items
Run:
dir /aThis lists files and folders with all attributes, including hidden and system items, within the current directory.
Step 4: Remove the Hidden Attribute From a Specific Folder
If you own or administer the folder and intentionally want to make it visible, use:
attrib -h "C:\Example\MyFolder"Replace the example path with the exact folder path.
If the folder also has the System attribute, you may need:
attrib -h -s "C:\Example\MyFolder"Use this second command only when you understand why the System attribute is present. Do not apply it indiscriminately to Windows directories.
These commands do not bypass file permissions or decrypt protected data. They only change attributes when you have sufficient access.
8. Common Errors and Fixes
Sometimes hidden folders remain invisible even after you change the settings. The following solutions can help.
Problem 1: Hidden Folders Are Still Not Visible
Possible cause: The folder has the System attribute or is located somewhere other than the directory you are viewing.
Fix:
- Confirm that Hidden items is enabled.
- Navigate to the correct drive and folder.
- Use
dir /ain Command Prompt to check whether the item exists. - Review protected operating system file settings only if necessary.
Problem 2: The Hidden Files Option Keeps Changing Back
Possible cause: A policy restriction, third-party utility, or potentially unwanted software may be changing the setting.
Fix:
- Restart Windows and check the setting again.
- Run a scan with Windows Security.
- If the computer belongs to an organization, contact your IT administrator about applicable policies.
- If the setting changes unexpectedly after a malware infection, investigate the system before modifying registry values.
Avoid downloading unknown utilities that promise to reveal every hidden file.
Problem 3: A USB Drive Appears Empty
Possible cause: Files may be hidden, the drive may have filesystem errors, or malware may have changed file attributes.
Fix:
- Open File Explorer and enable Hidden items.
- Check the correct USB drive letter.
- Use
dir /a X:\in Command Prompt, replacingX:with the USB drive letter. - If the files appear hidden, inspect the attributes before changing them.
- If the drive reports errors, stop making unnecessary changes and consider recovering important files first.
Do not format the drive if you need its existing data.
Problem 4: Access Is Denied
Possible cause: Your account lacks the necessary permissions, or the folder is protected by Windows.
Fix: Confirm that you are using the correct account and folder path. An administrator account may be required for some locations, but administrative access does not mean every system folder should be modified.
Problem 5: The Folder Is Missing Completely
Possible cause: The folder may have been moved, deleted, renamed, or stored in another user profile.
Fix: Search File Explorer, check the Recycle Bin, and inspect any relevant backups. Showing hidden items cannot recover files that have actually been deleted.
9. Best Practices and Pro Tips
Follow these recommendations when working with hidden folders:
- Enable hidden items only when needed. This keeps File Explorer less cluttered.
- Avoid modifying protected files. Windows and applications may depend on their contents.
- Back up important data. Create a backup before changing attributes on folders containing valuable files.
- Verify folder paths. A small path mistake in Command Prompt can affect the wrong item.
- Use trusted security tools. If hidden items repeatedly disappear, investigate possible malware or unwanted software.
- Restore your settings. Re-enable Hide protected operating system files after troubleshooting.
- Keep older systems isolated. Windows XP and Windows 7 no longer receive standard security support, so avoid using them for sensitive online activities.
For additional Windows performance advice, read How to Optimize Windows 11 for Gaming: 15 Ways to Boost Performance.
If your work also involves spreadsheets, this tutorial may help: How to Stop Excel From Changing Numbers to Dates.
Conclusion
Showing hidden folders in Windows is straightforward once you know where to find the correct setting. In Windows 11 and Windows 10, enable Hidden items in File Explorer. In Windows 8, Windows 7, and Windows XP, use Folder Options to display hidden files, folders, and drives.
If a folder remains invisible, check its attributes using Command Prompt and verify that you are looking in the correct location. Remember that hidden items and protected operating system files are different categories.
Most importantly, display only the files you need and avoid changing unfamiliar system items. These precautions will help you troubleshoot Windows safely while keeping your files and operating system protected.
Frequently Asked Questions (FAQs)
1. How do I show hidden folders in Windows 11?
Open File Explorer, select View > Show > Hidden items, and the hidden folders should become visible. For protected system files, use Folder Options and change the separate protected-file setting only when necessary.
2. What is the shortcut to show hidden files in Windows 10?
There is no universal keyboard shortcut dedicated to toggling hidden files in Windows 10. Press Windows + E to open File Explorer, select the View tab, and check Hidden items.
3. Why can’t I see hidden folders even after enabling Hidden items?
The folder may have the System attribute, you may be checking the wrong location, or you may not have permission to access it. Use dir /a to inspect the directory and verify the folder path.
4. Can I show hidden folders using Command Prompt?
Yes. Run dir /a to list hidden items in the current directory. If you need to change a folder’s Hidden attribute, use the attrib -h command with the correct folder path and sufficient permissions.
5. Is it safe to show hidden files and folders in Windows?
Yes, viewing hidden items is generally safe. However, deleting or modifying unfamiliar files can cause applications or Windows features to stop working. Be particularly careful with protected operating system files.